5 Essential Tips to Revive Your Dying Phalaenopsis Orchid Today!
5 Essential Tips to Revive Your Dying Phalaenopsis Orchid
- Common Indicators of a Dying Orchid
- Essential Care Tips for Phalaenopsis Orchids
- Common Mistakes to Avoid
- FAQs
Seeing your Phalaenopsis orchid lose its vibrant colors can be disheartening. You might notice yellowing leaves, droopy blooms, or an overall lack of vitality. When this happens, it’s important to understand that your orchid may need some care adjustments rather than being discarded. By recognizing the signs it’s displaying, you can take actionable steps to bring it back to health. Let’s explore how you can breathe new life into your beloved plant.
Common Indicators of a Dying Orchid
Before you can revive your orchid, it’s essential to identify the symptoms it may be experiencing:
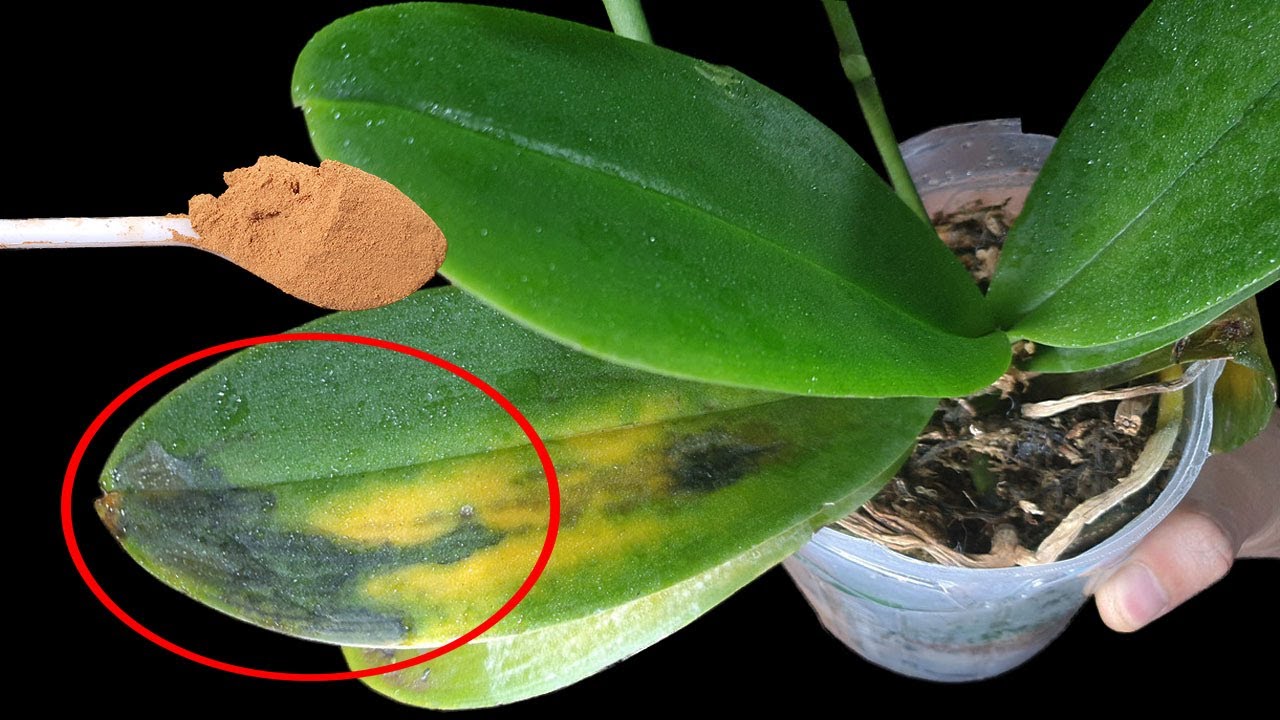
- Yellowing leaves: Often a sign of overwatering, this can lead to root rot.
- Drooping blooms: This could indicate insufficient light or improper care.
- Soft, mushy roots: Healthy roots should feel firm and white; mushiness may signal decay.
Understanding these symptoms can guide your care decisions moving forward.
Essential Care Tips for Phalaenopsis Orchids
Once you’ve identified the indicators, it’s time to implement care strategies tailored to your plant:
1. Adjust Watering Schedule
Watering correctly is crucial to your orchid’s health:
- Feel the medium: Before watering, check if the potting medium is dry to the touch.
- Water less frequently: Water every 7-10 days, allowing excess water to drain completely.
2. Optimize Light Exposure
Proper light can significantly boost your orchid’s recovery:
- Place your orchid near a south or east-facing window for maximum light exposure.
- Use sheer curtains to filter intense sunlight and protect the leaves from burning.
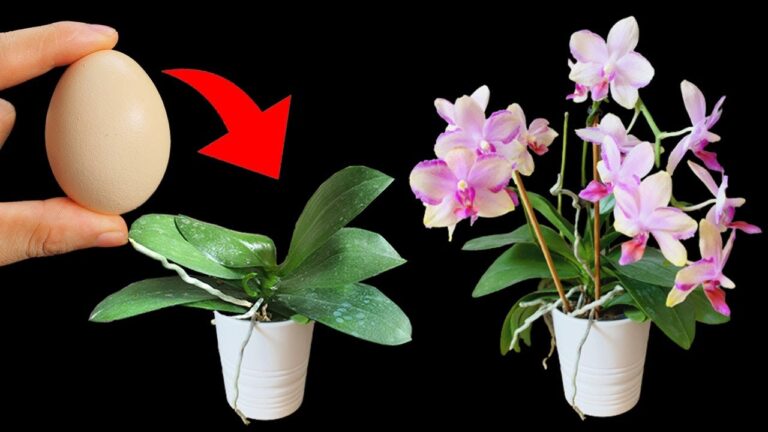
3. Fertilize Wisely
Feeding your orchid adequately can encourage healthy growth:
- Use a balanced orchid fertilizer every 2-3 weeks during the growing season.
- Dilute the fertilizer to avoid overwhelming the plant.
4. Check for Pests
Pests can be a major issue and need to be dealt with quickly:
- Inspect the undersides of leaves for tiny insects or webbing.
- Use insecticidal soap or neem oil for treatment.
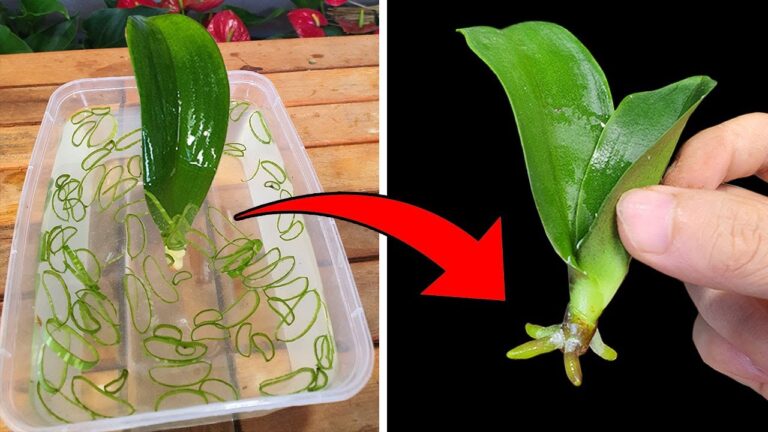
5. Repot if Necessary
If root problems are suspected, repotting might be required:
- Prepare the new pot: Use fresh orchid potting mix to prevent disease.
- Gently remove the orchid: Take care not to damage the roots while transferring.
- Place in new pot: Ensure the plant sits upright with roots spread out.
Common Mistakes to Avoid
While caring for your Phalaenopsis orchid, be mindful of these common pitfalls:
- Overwatering can lead to root rot, so always check the moisture level first.
- Ignoring light conditions can hinder growth; make sure your orchid gets adequate light.
- Neglecting to clean leaves can attract pests and blocks photosynthesis.
- Fertilizing when the plant is not actively growing may harm it.
- Using regular potting soil instead of orchid mix can suffocate the roots.
FAQs
How often should I water my Phalaenopsis orchid?
Watering every 7-10 days is generally recommended, but always check the moisture level first.
What are the ideal light conditions for my orchid?
Place your orchid in a bright location with filtered sunlight to prevent leaf burn and promote growth.
Can I use regular fertilizer on my orchid?
It’s best to use a fertilizer specifically formulated for orchids, as it meets their unique nutrient needs.
Conclusion
By being attentive to the needs of your Phalaenopsis orchid and following these care tips, you can revive its health and beauty. Have you noticed any specific symptoms in your orchid?