Root Any Cutting in Just 7 Days with This Simple Plastic Bottle Trick!
Root Any Cutting in Just 7 Days with This Simple Plastic Bottle Trick
- Introduction
- The Plastic Bottle Method
- Planting Your Cuttings
- Care and Maintenance
- Common Mistakes
- FAQ
- Conclusion
Introduction
Have you ever tried propagating plants only to be met with disappointment when your cuttings don’t thrive? It’s a common frustration, especially for budding gardeners looking to expand their green spaces. The right method can make all the difference, and one surprisingly simple solution might be sitting in your recycling bin. Read on to discover an easy way to root cuttings effectively and quickly.
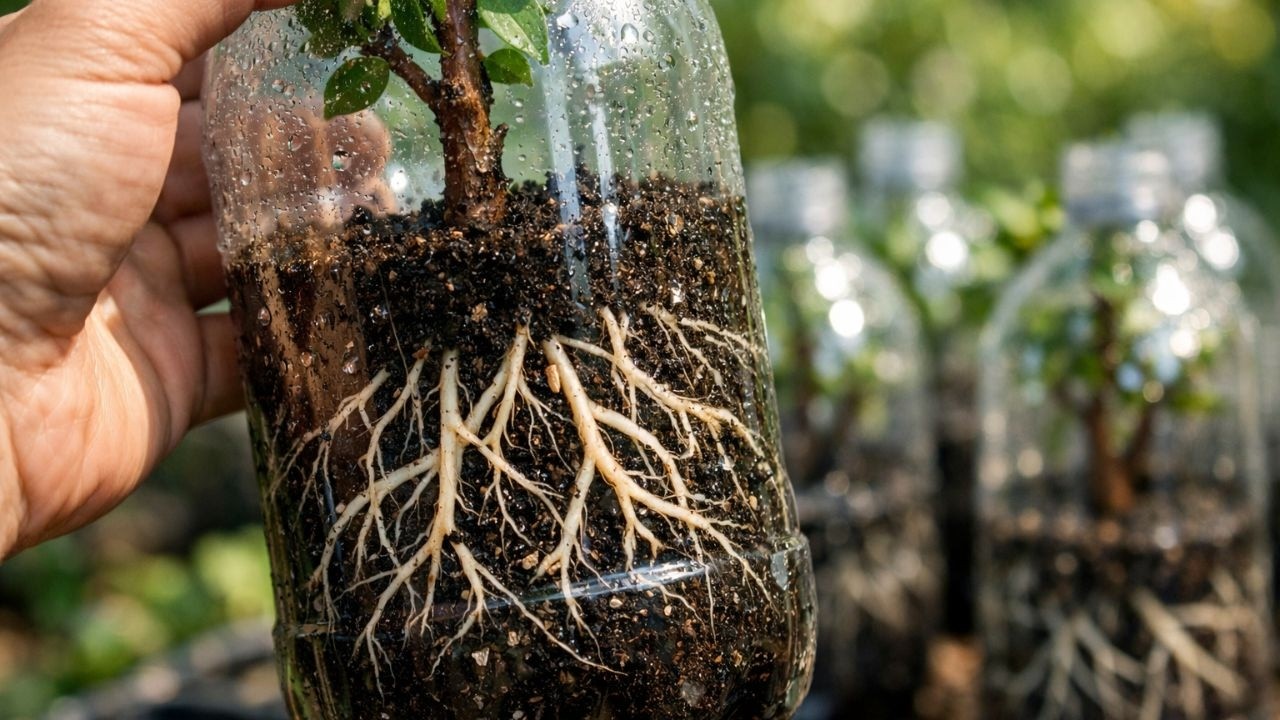
The Plastic Bottle Method
The plastic bottle rooting method is an innovative way to create the perfect environment for your cuttings. This technique leverages humidity and moisture while ensuring adequate light for growth.
Required Materials
- Plastic bottle (clear)
- Sharp scissors or a utility knife
- Potting mix
- Water
- Healthy cuttings from your plants
Steps to Prepare the Plastic Bottle
- Cut the plastic bottle in half. You can use the bottom half or the top half, depending on your preference.
- Fill the bottom half with potting mix, leaving about an inch at the top.
- Add water until the soil is moist but not soggy.
- Place the top half upside down into the bottom half to create a mini greenhouse effect.
Choosing the Right Cuttings
Healthy cuttings are vital for successful rooting. Aim for cuttings that are 4-6 inches long, with several leaves but no flowers. This will help focus the plant’s energy on root development.
Planting Your Cuttings
Now that you have your container ready, it’s time to plant your cuttings and encourage them to root successfully.
How to Insert the Cuttings
- Dip the cut end of the cutting in rooting hormone (optional) if you prefer a little extra help.
- Insert the cutting into the potting mix, ensuring it is sturdy and upright.
- Cover the cutting with soil, gently pressing it to eliminate air pockets.
Creating the Right Environment
To further enhance rooting, ensure your cuttings receive indirect sunlight. The plastic bottle will create a humid microclimate that helps your cuttings establish roots.
Care and Maintenance
Proper care will ensure your cuttings thrive and develop strong roots. Here’s how to nurture them during their growing period.
Monitoring Water Levels
Keep an eye on water levels in the potting mix; it should remain consistently moist but never waterlogged. This balance is crucial for healthy root growth.
Providing Adequate Light
While your cuttings enjoy the warmth of indirect sunlight, avoid exposing them to harsh direct sunlight, which can scorch the leaves. Rotate them every few days for even light exposure.
Common Mistakes
Even with simple techniques, mistakes can still occur. Here are some pitfalls to avoid when using the plastic bottle trick to root your cuttings.
- Overwatering your cuttings can lead to root rot.
- Using poor quality cuttings can hinder rooting success.
- Exposing cuttings to direct sunlight may cause leaf burn.
- Neglecting humidity levels can dry out cuttings before they root.
FAQ
What types of plants can I propagate using the plastic bottle method?
You can propagate many plants, including herbs, houseplants, and some flowering plants. Just ensure that the cuttings are healthy and suited for propagation.
How long does it take for cuttings to root using this method?
Typically, cuttings can establish roots within 7 to 14 days, depending on the plant type and conditions.
Do I need to use rooting hormone?
While rooting hormone can enhance rooting, it is not essential. Many cuttings root successfully without it, especially if the overall environment is optimal.
Conclusion
The plastic bottle method is a straightforward and effective way to root your cuttings, transforming your gardening efforts into a flourishing success. Have you tried propagating plants before, and what tips have worked for you? Your gardening journey can inspire others!