1 Trick to Root Any Plant Branch Instantly! Discover How Today!
Quick and Effective Ways to Root Plant Branches
- Introduction
- Benefits of Rooting Plant Branches
- Essential Materials for Rooting
- Step-by-Step Guide to Rooting
- Common Mistakes to Avoid
- FAQ
- Conclusion
Introduction
You might have noticed a beautiful plant in your home or garden and wished you could replicate it with minimal effort. Growing new plants from cuttings not only saves you money, but it also allows you to expand your garden with your favorite varieties. However, the process can sometimes be intimidating, especially if you’re unsure about how to make those cuttings thrive. Let’s dive into the essential techniques that can help you successfully root any plant branch effortlessly.
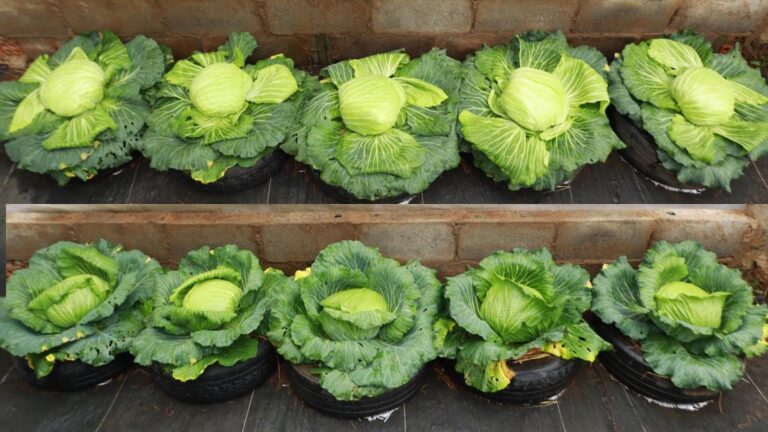
Benefits of Rooting Plant Branches
Rooting plant branches offers several advantages for both new and experienced gardeners. Here are a few key benefits:
- Cost-effective: Propagating from cuttings significantly reduces the cost of acquiring new plants.
- Plant Variety: You can easily multiply your favorite plants, ensuring you always have access to your preferred varieties.
- Speed: In many cases, you can see new growth in a surprisingly short time frame.
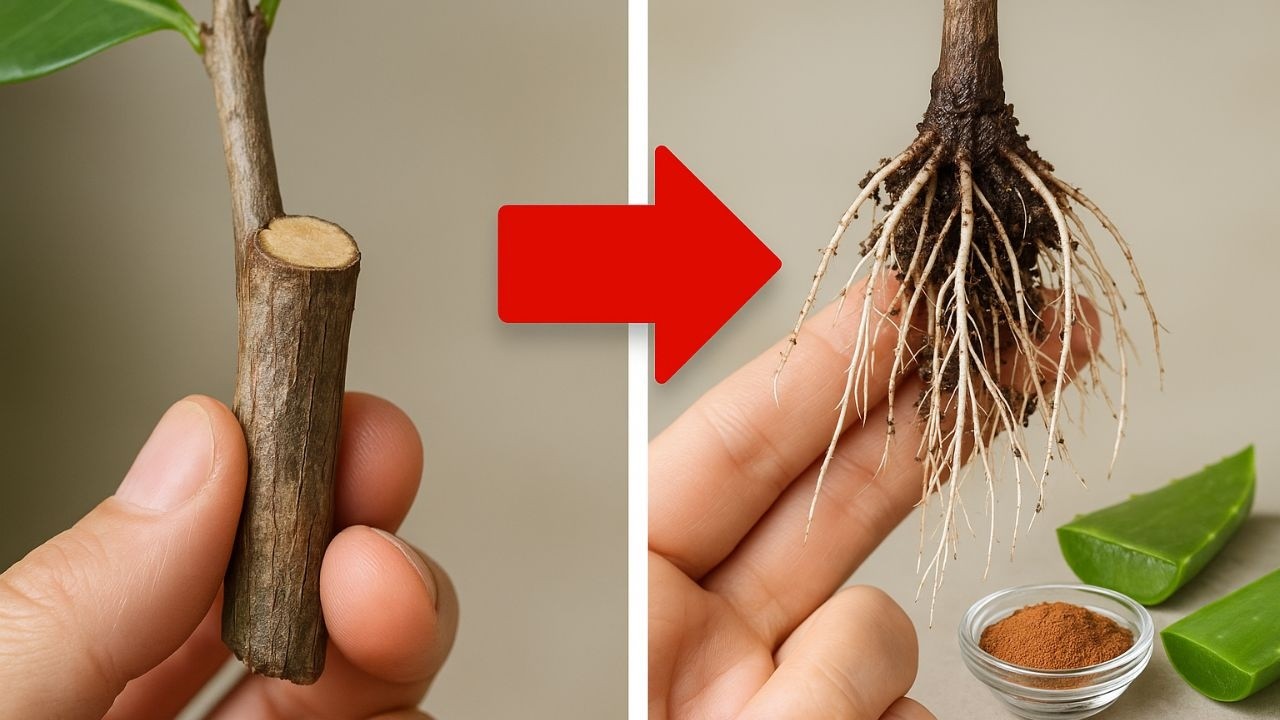
Essential Materials for Rooting
Before starting your propagation journey, gather the necessary materials:
- Sharp scissors or pruners: Use these to make clean cuts on your plant stems.
- Rooting hormone (optional): This can enhance the rooting process, helping the cuttings develop roots faster.
- Containers: Use small pots or recyclable cups filled with a well-draining soil mix.
- Water: Essential for sustaining the cuttings during their initial growth phase.
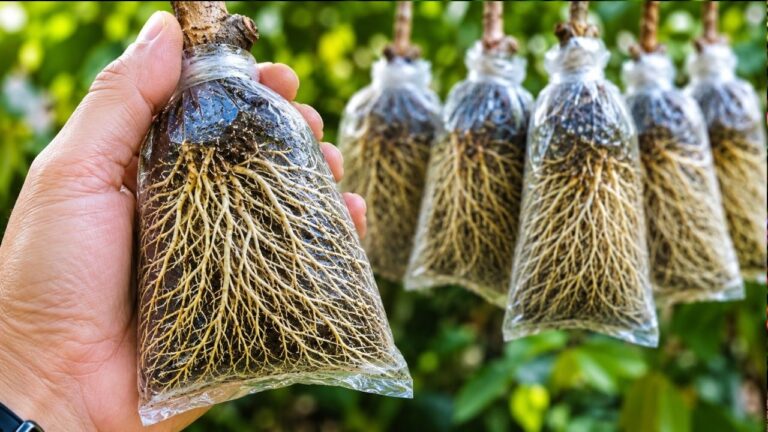
Step-by-Step Guide to Rooting
Now that you have your materials ready, follow these steps to root your plant branches successfully:
1. Select the Right Cutting
Choose healthy stems approximately 4 to 6 inches long, making sure they have at least two to three leaves.
2. Make Your Cuts
- Gather your cutting: Use sharp scissors to sever the branch just below a node.
- Remove lower leaves: Trim away any leaves touching the soil to prevent rot.
- Dip in rooting hormone: If using, coat the cut end with rooting hormone to encourage root growth.
3. Plant the Cuttings
Create a small hole in your soil-filled container and place the cutting inside, ensuring it’s upright. Gently press the soil around the base to secure the plant.
4. Water and Care
Water the cutting thoroughly to ensure it’s well-hydrated, and place it in a warm, bright location, avoiding direct sunlight. Consider covering it with a plastic bag to create humidity, but remember to remove it occasionally to prevent mold.
5. Monitor Growth
After a few weeks, check for root development. Give your cutting a gentle tug; if you feel resistance, it’s likely forming roots.
Common Mistakes to Avoid
Even experienced gardeners sometimes stumble during the propagation process. Here are some common pitfalls to watch out for:
- Using too long of a cutting, which can distract from the growing process.
- Waterlogging the cuttings, which can lead to rot.
- Insufficient light, as cuttings often need bright, indirect light to thrive.
- Not allowing enough time for root development before moving the plant.
FAQ
How long does it take for cuttings to root? Depending on the plant type, rooting can take anywhere from a few weeks to several months.
Can I root multiple cuttings together? Yes, but ensure they have enough space and are not overcrowded in the container.
Do I need to use rooting hormone? While it’s not necessary, using rooting hormone can boost your success rate in propagating cuttings.
Conclusion
Rooting plant branches is an enjoyable and rewarding way to expand your gardening endeavors. With the right techniques and materials, you can grow a lush garden filled with your favorite plants. Have you tried rooting cuttings before? Share your experiences in the comments below!