10 Creative Ways to Make a Cement Sugar or Coffee Pot at Home
10 Creative Ways to Make a Cement Sugar or Coffee Pot at Home
- Introduction
- Creative Projects to Try
- Dos and Don’ts of Cement Crafting
- Customization Options for Your Pots
- Common Mistakes to Avoid
- FAQ
- Conclusion
Introduction
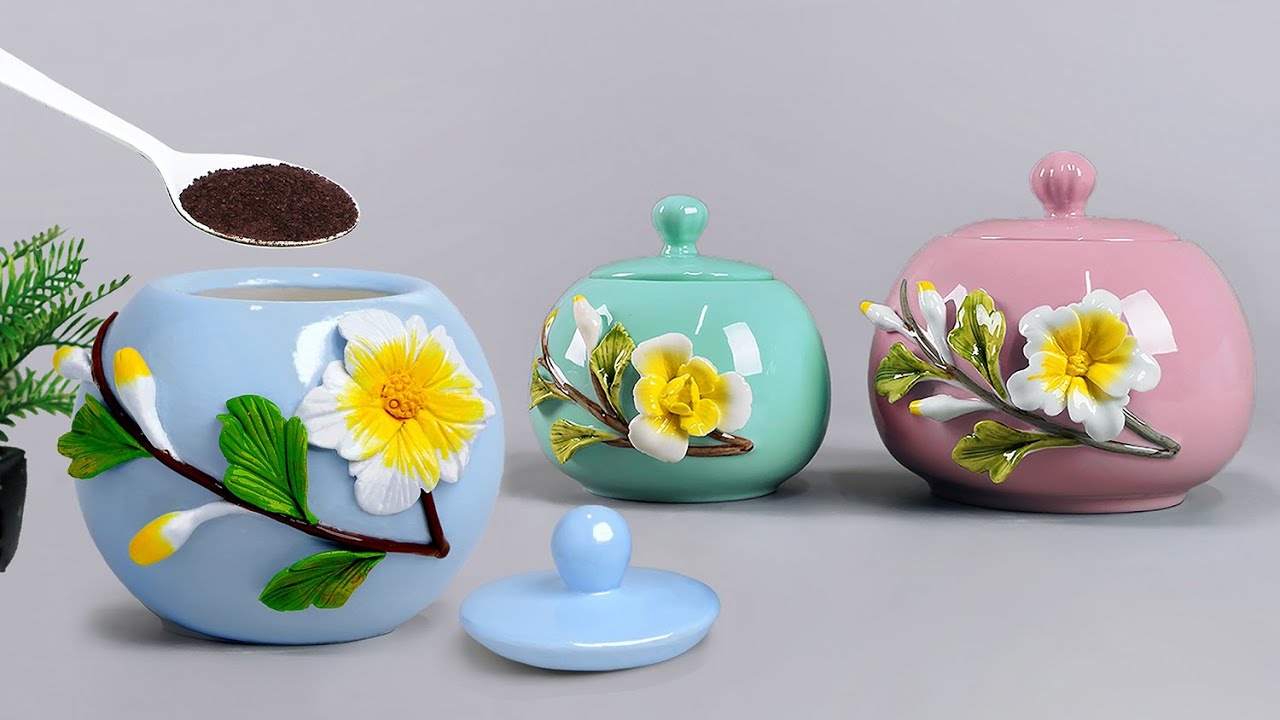
Have you ever walked through a thrift store, spotting a charming sugar or coffee pot, and thought about how to create your own unique version? Making your own cement pots not only provides you with a stylish and durable option but also allows you to express your creativity. With just a few materials and some time, you can craft beautiful pots to enhance your kitchen or dining area. Read on to discover innovative ideas and practical tips to get started on your cement pot project.
Creative Projects to Try
There are countless approaches to crafting cement sugar or coffee pots. Here are some inspiring ideas to consider:
Create a Textured Finish
- Gather necessary materials: cement mix, water, a mixing bowl, and a mold (silicone molds work great).
- Mix the cement according to package instructions, ensuring a smooth consistency.
- Pour the mixture into your mold, filling it halfway for a base.
- Add additional textures using materials like burlap or sponge while the cement is still wet.
- Let it cure for at least 24 hours before demolding and finishing it as desired.
Use Different Molding Techniques
- Combine two molds: one smaller that fits inside a larger one to create layered pots.
- Try a two-part mold for a unique shape that offers versatility in design.
Incorporate Color and Patterns
For a pop of personality, consider adding color:
- Mix colored pigments into your cement before pouring.
- Paint the finished pot with water-resistant paint.
- Stamp patterns onto the wet cement for added texture and design.
Dos and Don’ts of Cement Crafting
While creating your cement pots can be fun, following some key guidelines can enhance your results:
Dos
- Wear gloves and a mask to protect from dust and chemicals.
- Experiment with various textures and finishes.
- Store your finished pots in a dry, cool place to prolong their life.
Don’ts
- Avoid using rusty or damaged molds; they can lead to poor outcomes.
- Don’t rush the drying process; curing properly ensures strength.
- Never mix different cement types as they may not cure well together.
Customization Options for Your Pots
Your creativity doesn’t have to stop at just the basic pot. Consider these fun customization options:
Personalized Engravings and Designs
Once your pot is set, try these techniques:
- Engrave initials or designs into the soft cement using a wooden stick.
- Apply stencils to create bold shapes or letters.
Utilizing Natural Elements
- Press small leaves or flowers into the wet cement for an organic look.
- Incorporate stones or beads into the design for added interest.
Seasonal Themes
Change with the seasons by:
- Painting pots in autumn colors for fall.
- Adding small holiday decorations to your pots for winter.
Common Mistakes to Avoid
Being aware of common pitfalls can save you time and frustration:
- Not pre-treating molds can lead to sticking. Always use a release agent.
- Mixing too much water can weaken the structure of your pot.
- Skipping sanding or sealing can leave rough edges and surfaces.
FAQ
What type of cement should I use for pots?
Use a type of cement that is specifically formulated for crafts, such as quick-setting concrete, which is easier to work with and cures faster.
How can I decorate my cement pots?
You can decorate your cement pots with paint, stencils, or by embedding natural elements like stones or shells into the surface.
How long does it take for cement to cure completely?
Cement typically requires at least 24 to 48 hours to fully cure, but waiting a week is advisable to ensure maximum strength.
Conclusion
Creating your own cement sugar or coffee pots opens a world of creativity and customization. By exploring different techniques and avoiding common mistakes, you can craft truly unique pieces for your home. What design will you try first? Share your ideas in the comments!