10 Genius Drill & Screw Tips to Ensure a Strong Hold You Need to Know!
10 Essential Drill & Screw Tips for a Strong Hold
- Introduction
- Choosing the Right Tools
- Proper Drilling Techniques
- Common Mistakes to Avoid
- Frequently Asked Questions
Introduction
Have you ever struggled with screws that just won’t hold, making a home project feel like a battle against time? Whether it’s assembling new furniture or tackling a DIY renovation, using the right drill and screw techniques can make all the difference. Many people overlook the importance of proper methods, leading to frustrating moments where things just don’t stay together as you hoped. By diving into these ten essential tips, you’ll discover how to achieve a strong hold for your projects. Let’s explore the best practices together.
Choosing the Right Tools
Understanding your tools is the first step in ensuring a strong hold. The correct drill and screws will depend on the materials you’re working with.
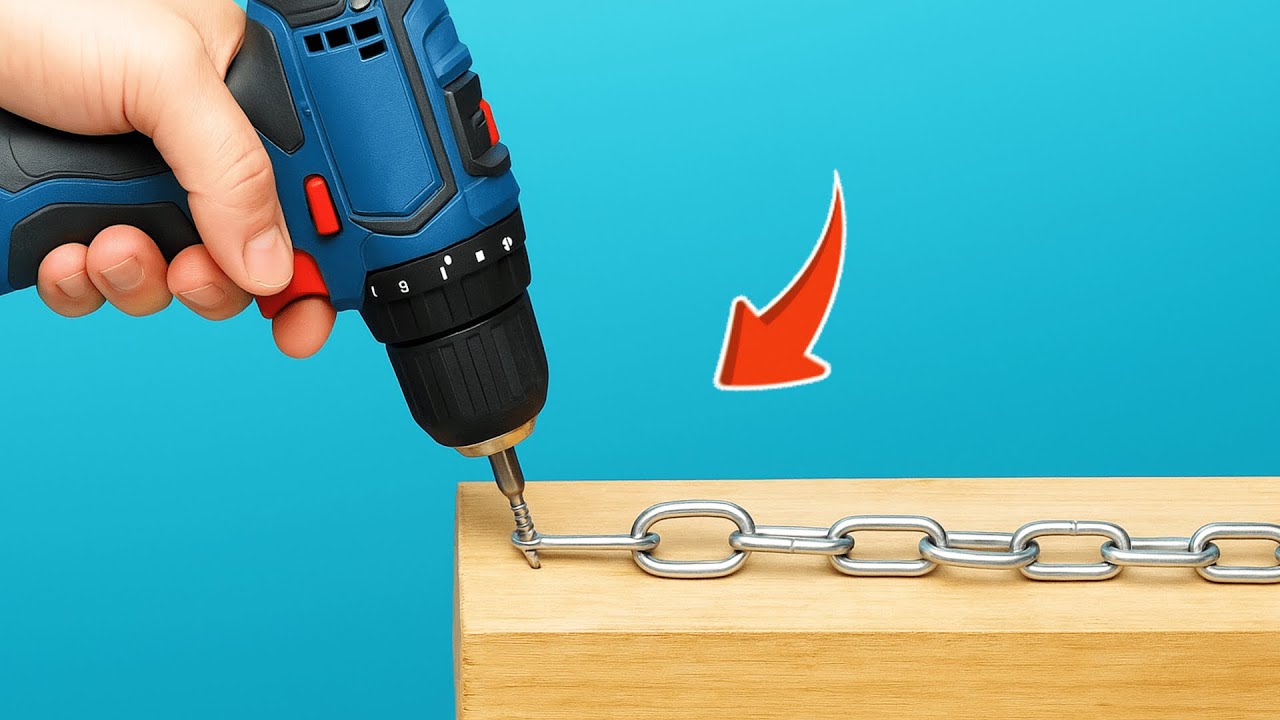
1. Select the Right Drill
When selecting a drill, consider the project requirements.
- Choose a cordless drill for mobility during projects around your home.
- Opt for a hammer drill when working with masonry or concrete.
- Check the power (measured in volts) to ensure it meets your needs.
2. Pick Appropriate Screws
The type of screws you choose is equally important. Here are some tips:
- Use wood screws for connecting wooden materials; they have deeper threads.
- Consider self-tapping screws when working with metal to eliminate pre-drilling.
- Check the length of screws to ensure they penetrate the material adequately.
Proper Drilling Techniques
Proper technique will significantly impact the strength of the hold. Follow these recommendations to enhance your approach.
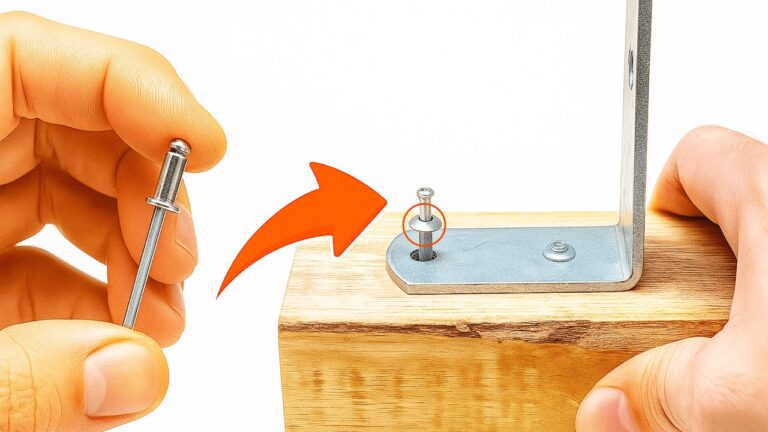
1. Pre-Drill Holes
To ensure screws grip properly, pre-drilling is a critical step:
- Use a bit slightly smaller than the screw’s diameter for wood.
- Drill to just below the surface for added support.
2. Use the Correct Speed
Setting the right speed can improve both accuracy and efficiency:
- Slow speed for harder materials to prevent cracking.
- High speed for softer materials to drive screws quickly.
3. Apply Even Pressure
Maintaining a consistent pressure is key:
- Don’t push too hard as you risk damaging the material.
- Let the drill do the work by applying just enough pressure.
Common Mistakes to Avoid
Even with a good understanding of techniques, several common mistakes can hinder your success. Here’s what to watch out for:
1. Using Dull Bits
Using a dull drill bit can lead to unnecessary strain and poor performance. Always keep your tools sharp for the best results.
2. Not Matching the Screw to the Material
Choosing an incorrect screw type can compromise your project. Always verify compatibility with your materials.
3. Over-tightening Screws
Over-tightening screws can strip the material and reduce their holding power. Stop tightening once the screw feels secure.
Frequently Asked Questions
What type of drill is best for home projects?
A cordless drill is often the best choice for home projects due to its versatility and ease of use, especially for DIY enthusiasts.
How do I choose the right screw length?
Screws should penetrate at least halfway into the material they’re fastening. For standard wood, a good rule of thumb is to select screws that are about two times the thickness of the material.
Is it necessary to pre-drill holes for screws?
Pre-drilling is highly recommended, especially for hardwoods, as it helps prevent splitting and allows better control when driving the screws.
Conclusion
By implementing the right tools and techniques for drilling and screws, you can ensure a strong hold in your home projects. Remember to pay attention to common mistakes to keep your efforts on track. What tools do you find essential for your DIY projects? Share your experiences in the comments!