10 Smart Tips for Perfectly Joining Wood Pieces You Need to Try Today!
10 Smart Tips for Perfectly Joining Wood Pieces
- Introduction
- Required Materials
- Effective Joining Techniques
- Common Mistakes to Avoid
- FAQ
- Conclusion
Introduction
Have you ever embarked on a DIY woodworking project only to find the pieces not fitting together as you envisioned? Whether you’re building shelves, a table, or any wooden creation, achieving a seamless joint is crucial for both aesthetics and durability. Understanding how to effectively join wood pieces can transform your project from ordinary to exceptional. Let’s explore some smart tips that will help you master this essential skill in your woodworking journey.
Required Materials
Before diving into the tips for joining wood, gather the necessary materials that will aid you in your task. Having the right tools is essential for achieving clean and precise joints.
- Wood Glue: Choose a high-quality wood glue suitable for your wood type.
- Clamps: Invest in a good set of clamps to hold the pieces together while the glue dries.
- Saw: A miter saw or table saw will ensure your cuts are straight and clean.
- Wood Filler: This will help fill any gaps that may occur during joining.
- Sandpaper: Various grits will help you smooth out rough edges for a perfect finish.
Effective Joining Techniques
Using the right techniques can drastically improve the quality of your wood joints. Here are several methods that you can employ:
1. Butt Joint
This is the simplest type of joint, where the two pieces simply meet at their ends. To create a secure butt joint:
- Apply wood glue: Spread a thin layer on the edge of one piece.
- Join the pieces: Line up the edges and press them together.
- Clamp: Use clamps to hold the joint in place until the glue sets.
2. Pocket Hole Joint
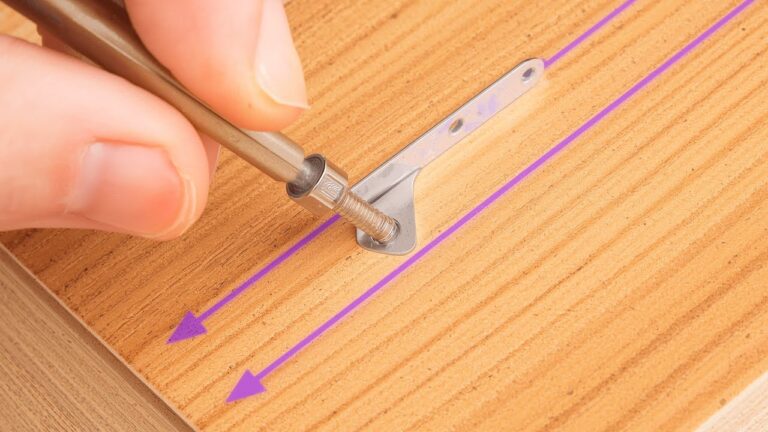
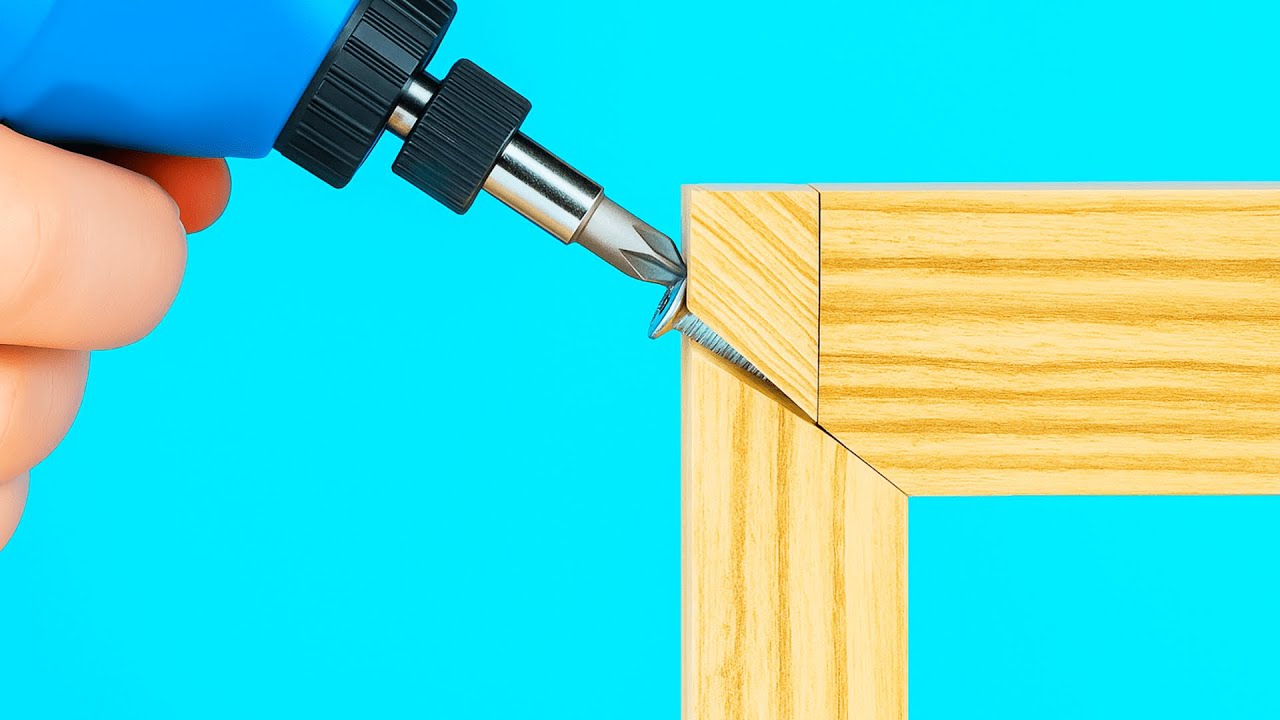
This technique involves drilling a hole at an angle into one piece and securing it with screws. Here’s how you can execute it:
- Drill pocket holes: Use a pocket hole jig to create the holes.
- Assemble the joint: Align the pieces and drive screws into the pocket holes.
- Finish the joint: Sand and fill any visible holes for a smooth surface.
3. Dowel Joint
Dowel joints provide strong mechanical support. To use this method:
- Align pieces: Mark where the dowels will go on both pieces.
- Drill holes: Ensure they’re of the same depth on both pieces to avoid misalignment.
- Insert dowels: Apply glue to the dowels before fitting them into the holes.
Common Mistakes to Avoid
While learning how to join wood pieces effectively, you might encounter a few pitfalls. Here are some mistakes to watch out for:
- Skipping the measurements: Always measure twice to avoid cutting mistakes.
- Using too much glue: Excess glue can create a mess and weaken the joint.
- Not clamping properly: Failing to apply enough pressure with clamps can result in loose joints.
- Ignoring drying time: Prematurely removing clamps can jeopardize the integrity of your joint.
- Neglecting surface preparation: Ensure all surfaces are clean and smooth for the best adhesion.
FAQ
What type of glue is best for woodworking?
Wood glue specifically designed for your type of wood is recommended for strong joints. Look for PVA glue for general use or polyurethane glue for outdoor projects.
How long should I clamp wood joints?
Clamping time varies, but typically 30 minutes to an hour is sufficient for most wood glues before handling the pieces. Full curing may take longer, so check the glue’s instructions.
Can I use screws instead of glue?
Yes, screws can be used instead of glue or in addition to it for added strength. However, ensure that you use them correctly to avoid damaging the wood.
Conclusion
Mastering these tips for perfectly joining wood pieces can elevate your woodworking projects to a new level of craftsmanship. By avoiding common mistakes and employing effective techniques, you’ll achieve strong, beautiful joints every time. What woodworking projects do you look forward to completing using these tips?