5 Easy Steps to Fix Your Leaky Metal Water Lock Like a Pro!
Easy Steps to Fix Your Leaky Metal Water Lock
- Introduction
- Understanding the Problem
- Gathering Materials
- Repairing the Leak
- Common Mistakes to Avoid
- FAQ
- Conclusion
Introduction
Finding a puddle of water beneath your metal water lock can be incredibly frustrating. This issue not only affects the functionality of your plumbing system but can also lead to more significant complications if left unchecked. You might feel overwhelmed at first, unsure of how to approach the problem effectively. By understanding the common causes of leaks and knowing the right steps to take, you can restore your water lock to perfect working order. Continue reading to discover straightforward solutions.
Understanding the Problem
Before diving into repairs, it’s essential to identify what might be causing the leak in your metal water lock. Understanding potential issues can significantly streamline your repair process.
Common Causes of Leaks
- Corrosion: Metal components can corrode over time, weakening the structure.
- Loose Fittings: A loose connection can lead to water escaping.
- Worn Seals: Over time, seals may degrade and lose their effectiveness.
Signs of a Leak
- Pooling water around the lock.
- Visible rust or corrosion on the surface.
- Increased water bills without explanation.
Gathering Materials
Before starting the repair, gather all necessary materials to ensure a smooth process. Making sure you have everything on hand can save you time and frustration.
Essential Tools and Materials
- Adjustable wrench
- Sealant tape
- Replacement seals or O-rings
- Rust-inhibiting primer and paint (if needed)
Preparing Your Workspace
Set up a clean, well-lit workspace where you can easily access your materials. Lay down a tarp or cloth to catch any drips, and keep a bucket nearby for excess water.
Repairing the Leak
Now that you have your materials ready, follow these five easy steps to fix the leak effectively.
- Turn off the water supply to the lock to prevent any more leaks.
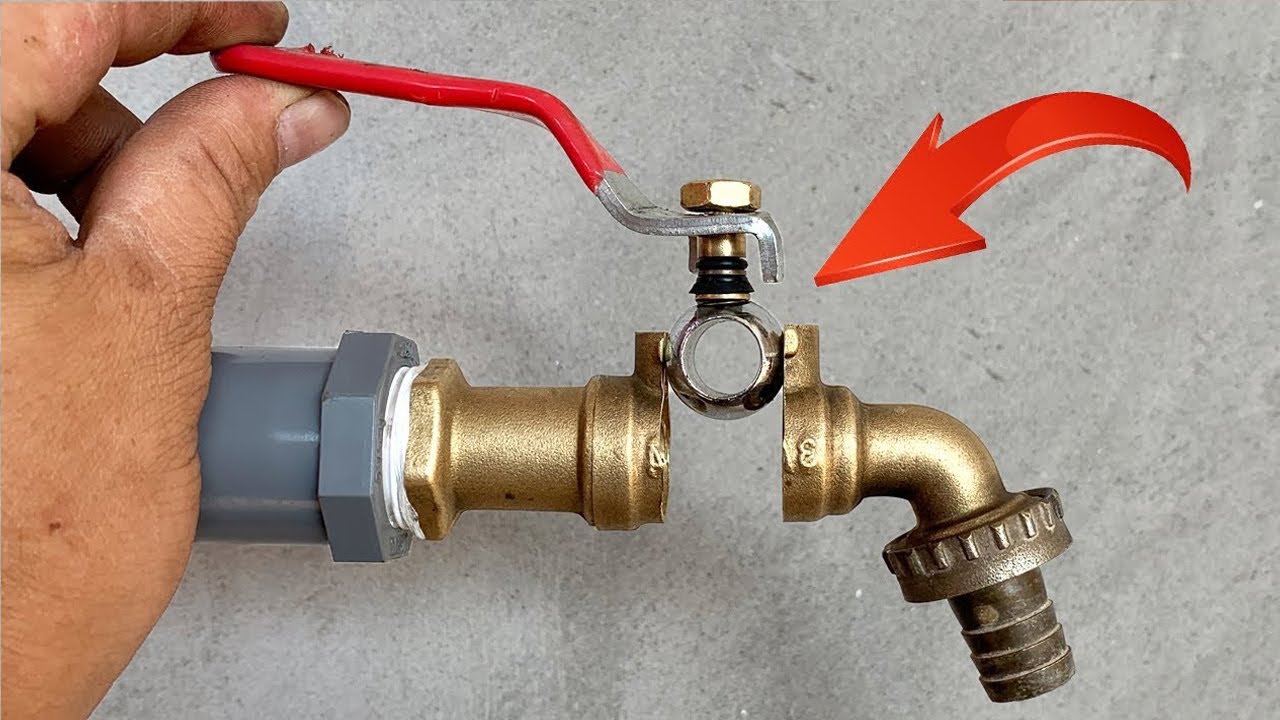
- Loosen any fittings around the lock using your adjustable wrench.
- Inspect parts for corrosion and worn seals. Replace any components as necessary.
- Apply sealant tape around the threads of the fittings for added protection against leaks.
- Tighten the fittings back securely and turn the water supply back on. Check for any remaining leaks.
Testing the Repair
Once you have completed the repair, keep an eye on the area for the next few hours. If you notice any further issues, it may require additional attention.
Common Mistakes to Avoid
While repairing a leaky water lock may seem straightforward, there are a few pitfalls to watch out for that can complicate matters or lead to more leaks.
- Over-tightening fittings can damage the threads and create new leaks.
- Neglecting to turn off the water supply can lead to larger messes and hazards.
- Not using enough sealant tape can leave gaps that allow leaks to persist.
- Ignoring rust can lead to further deterioration of the lock.
- Forgetting to test the repair can mean unresolved issues go unnoticed.
FAQ
How do I know if my water lock needs replacing instead of just repairing?
If the lock is severely rusted or compromised, it may be more cost-effective to replace it rather than repair it.
Can I repair a leak in my water lock myself?
Yes, with the right tools and materials, many DIY enthusiasts can successfully repair leaks in metal water locks.
What should I do if the leak persists after my repair?
If the leak continues, double-check all connections and seals. If problems persist, consider consulting a professional.
Conclusion
Fixing a leaky metal water lock is achievable with proper knowledge and the right materials. By following these easy steps and recognizing common mistakes, you can ensure a more effective repair. Have you ever encountered a leak in your home? Share your experiences in the comments below!