8 Easy Steps to Restore a Broken Key at Home Like a Pro
8 Simple Steps to Restore a Broken Key at Home
Introduction
Have you ever found yourself in a frustrating situation where your key has suddenly snapped right when you needed it the most? Whether it’s a house key or a car key, dealing with a broken piece of metal can be both stressful and inconvenient. Instead of rushing to a locksmith, you might be surprised to learn that restoring a broken key at home is easier than you think. In the following sections, you’ll discover practical steps that will guide you through the repairing process, so stay tuned!
Materials Needed
Before you jump into restoring your broken key, it’s essential to gather all the materials you’ll need. This will streamline your process and ensure that you have everything on hand. Here’s what you should prepare:
- Super glue or a strong adhesive specifically designed for metal
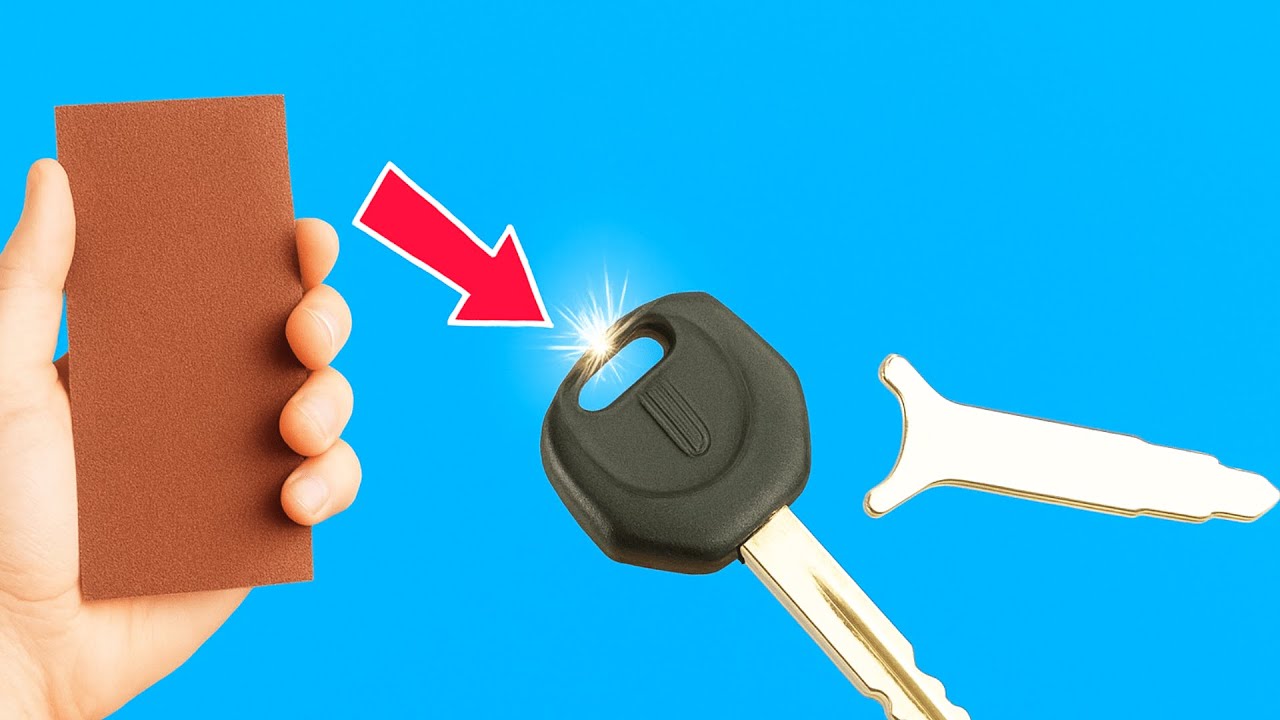
- Fine sandpaper for smoothing edges
- Clamps or tweezers to hold the pieces together
- Protective gloves to keep your hands safe while working
- A file or dremel tool for any needed adjustments
Step-by-Step Guide
Now that you have everything ready, let’s dive into the process of restoring your broken key. Follow these detailed steps to ensure a successful repair:
1. Prepare the Broken Pieces
- Clean the broken edges of the key. Use sandpaper to remove any dirt or rust that may interfere with the adhesive.
- Check that both pieces fit together perfectly. This will help in achieving a stronger bond.
2. Apply the Adhesive
- Coat one side of the broken key with a generous amount of super glue.
- Press the two pieces back together. Ensure they align correctly.
3. Secure the Joint
Using clamps or tweezers, hold the pieces firmly together. This pressure will ensure a strong bond while the glue dries. Leave it for at least 30 minutes or follow the manufacturer’s instructions for drying time.
4. Smooth the Edges
Once the glue has dried completely, check the joint for any uneven edges. Use fine sandpaper or a file to gently smooth out any rough areas for better functionality.
5. Test the Key
Before you put your key into regular use, it’s crucial to test it. Try inserting it into the lock to see if it operates smoothly. If it sticks or doesn’t engage well, additional sanding may be necessary.
Common Mistakes
While restoring a broken key at home can be straightforward, there are some common pitfalls to be aware of. Avoid these mistakes to ensure a successful repair:
- Using too much adhesive, which can create a messy bond and make it harder to align the pieces.
- Neglecting to clean the broken edges, leading to a weak connection due to dirt or grease.
- Failing to ensure proper alignment before securing the pieces, which can result in a key that doesn’t work smoothly.
- Removing the clamps too soon, which may cause the pieces to shift before the glue fully sets.
FAQ
Can I reuse a broken key? Yes, if the pieces are clean and aligned properly, a broken key can often be restored to full functionality.
What type of adhesive is best for metal? Super glue or specialized metal adhesive works well for this type of repair.
How long will the repair last? With proper materials and techniques, the repair can be quite durable, though it’s wise to avoid excessive force on the restored section.
Conclusion
Restoring a broken key at home can save you time and money, and it’s much simpler than you might have thought. By following these steps and avoiding common mistakes, you can enjoy a fully functional key once again. Have you ever had to repair something at home rather than replace it? Share your experiences in the comments!