7 Simple Steps to Restore Your Carpenter’s Saw from Rust to Shine
7 Simple Steps to Restore Your Carpenter’s Saw from Rust to Shine
- Introduction
- Required Materials
- Step-by-Step Restoration Process
- Mistakes to Avoid
- Frequently Asked Questions
- Conclusion
Introduction
Your carpenter’s saw, an essential tool in your workshop, can easily fall victim to rust if left unprotected. It’s frustrating to find that shiny blade dulled by rust after a period of inactivity. This common issue can make your favorite tool look neglected and less effective. However, the good news is that with just a few simple steps, you can restore its former glory. If you’re feeling overwhelmed by the process or unsure where to start, keep reading for effective techniques that will help you revitalize your saw.
Required Materials
Before you begin restoring your saw, gather the following items:
- Sandpaper (medium and fine grit)
- Steel wool
- Rust remover or vinegar
- Protection gloves
- Metal polish
- Cloth for wiping down
Having these materials ready will ensure that you can smoothly transition between each step of the restoration process.
Step-by-Step Restoration Process
Restoring your carpenter’s saw can be done effectively by following these simple steps:
- Clean the surface: Start by wiping down the saw with a cloth to remove any dust and debris. Make sure it’s dry before moving on.
- Assess the rust: Take a close look at the blade to determine the extent of the rust. This will help you decide how aggressive your restoration efforts need to be.
- Apply rust remover or vinegar: For light rust, you can use vinegar soaked into a cloth to wipe down the afflicted areas. If rust is more severe, consider using a commercial rust remover.
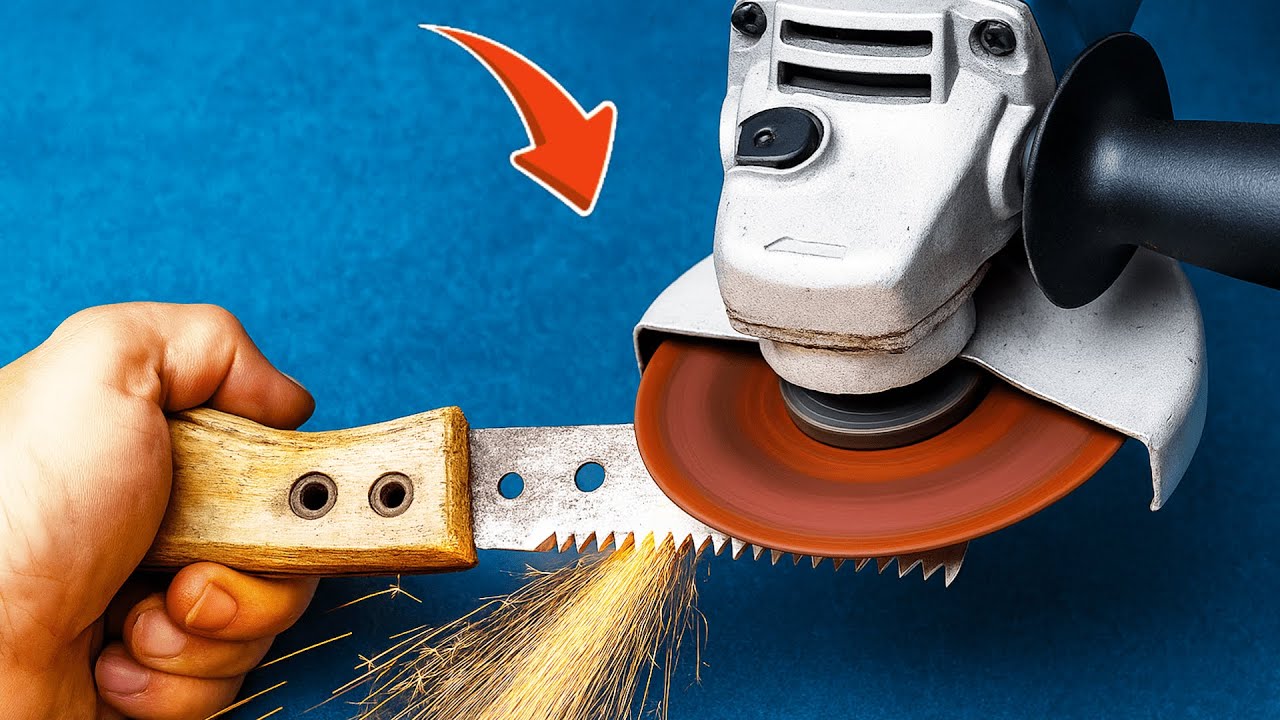
- Scrub with steel wool: Use medium-grit sandpaper or steel wool to scrub the rust off. This step may take some effort, but be patient to avoid damaging the blade.
- Polish the blade: Once the rust is removed, apply metal polish to shine the blade and protect it from future rust.
Extra Tips for Effective Restoration
- Consider wearing gloves to protect your hands from rust particles.
- Work in a well-ventilated area when using rust remover.
Maintaining Your Restored Saw
Once you’ve restored your saw, protect it by regularly oiling the blade and storing it in a dry place.
Mistakes to Avoid
While restoring your carpenter’s saw, it’s essential to be aware of some common pitfalls:
- Skipping the cleaning step can leave dust and debris that complicate rust removal.
- Using overly coarse sandpaper can damage the blade, leading to poor performance.
- Neglecting to protect the blade post-restoration can result in rapid rusting.
Frequently Asked Questions
Can I use household items to remove rust? Yes, vinegar and baking soda can be effective and safe alternatives for rust removal.
How often should I maintain my saw? Regular maintenance is recommended, especially if the saw is frequently used in damp conditions.
What if the rust has deeply pitted the blade? If the rust is severe, you may need to consult a professional for repair or replacement options.
Conclusion
Restoring your carpenter’s saw from rust to shine is achievable with a few simple steps, ensuring your tool remains effective for years to come. Take the time to maintain your tools regularly, and they will serve you well. Have you ever restored a tool before, and what was your experience like?