10 Simple Hose Repair Tips You Need to Know Now for Easy Fixes!
10 Essential Hose Repair Tips for Easy Fixes
Imagine you’ve just finished watering your vibrant vegetable garden when you notice a sudden spray erupting from a hole in your hose. This unexpected problem can quickly disrupt your gardening routine. As someone who loves tending to plants and ensures everything is in pristine condition, dealing with a faulty hose can be frustrating. However, understanding some simple repair tips can help you get back to caring for your garden without delay. Continue reading to discover essential hose repair tips that will save you time and hassle.
Common Hose Issues
Your garden hose can face a variety of problems, and knowing these common issues can help you address them efficiently.
1. Leaks and Holes
One of the most common problems is leaks or holes developing in the hose due to wear and tear or exposure to harsh conditions.
2. Kinks and Twists
Kinks can occur during use or storage, leading to uneven water flow. Recognizing how to prevent and fix kinks is key to maintaining your hose’s effectiveness.
3. Blocked Nozzle
A blocked nozzle or sprayer can hinder your ability to efficiently water plants. It’s important to understand how to clean and maintain these attachments.
Materials You Need
Before you jump into repairing your hose, gather a few essential materials to simplify the process.
- Hose repair kit: A standard kit usually includes connectors, clamps, and a sealant.
- Scissors or a utility knife: You’ll need these for cutting damaged sections of the hose.
- Pliers: Useful for tightening clamps or connectors securely.
- Soap and water: Helpful for checking for leaks upon completion of repairs.
Step-by-Step Repair Guide
Now that you have your materials ready, it’s time to tackle the hose repairs with this easy-to-follow guide.
1. Identify the Damage
Before making any repairs, carefully inspect your hose to identify all areas of damage, including leaks or kinks.
2. Cut Out the Damaged Area
Once you’ve found the damaged sections, use your scissors or utility knife to remove them.
3. Attach the Hose Repair Connector
Follow these steps to use the repair connector:
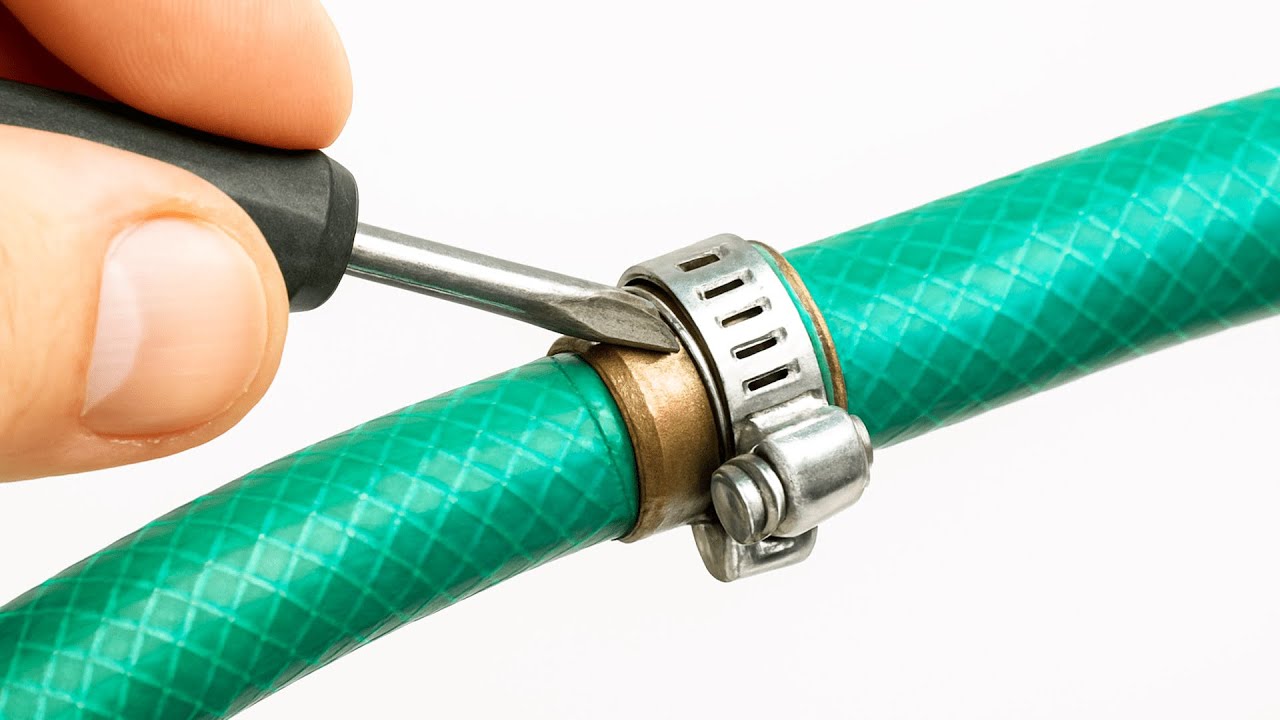
- Insert the cut ends of the hose into the connector.
- Secure both ends using the clamps, ensuring a tight fit.
4. Test for Leaks
Turn on the water to check for leaks. If necessary, use soap and water to identify any areas not sealed well.
5. Prevent Future Issues
Store your hose properly, free of kinks and twists, and occasionally inspect it for signs of wear to prolong its life.
Mistakes to Avoid
When it comes to hose repairs, being aware of common mistakes can help ensure a successful outcome.
1. Skipping the Inspection
Neglecting to thoroughly inspect the hose can lead to missing additional problem areas.
2. Over-tightening Clamps
Applying too much pressure can damage the hose further rather than secure the connection.
3. Using Improper Materials
Always use a hose repair kit that matches the diameter and material of your hose to ensure effectiveness.
4. Neglecting Storage Precautions
Not properly storing your hose can lead to cracks or kinks that will require further repairs.
FAQ
What causes leaks in a garden hose?
Leaks can develop due to wear and age, exposure to extreme temperatures, or improper storage methods.
How can I prevent my hose from kinking?
To prevent kinks, store your hose in loops and avoid sharp bends while using it.
Can I use duct tape to fix hose leaks?
Duct tape can provide a temporary fix but is not a long-term solution. Consider using a proper hose repair kit for lasting repairs.
In summary, understanding and addressing common hose issues can help maintain your garden efficiently. With a few simple tools and the right steps, you can make repairs with ease. Have you experienced any challenges with your hose that you’d like to share?