Root 5 Easy Steps to Propagate Hydrangea Cuttings Successfully! 🌸
Root Hydrangea Cuttings Successfully in 5 Easy Steps
Introduction
Picture this: you have a gorgeous hydrangea in your garden, its vibrant blooms catching the sunlight and capturing your heart. You’ve often wished to share this beauty with friends or perhaps expand your own garden. But how do you achieve that? The process of propagating hydrangea cuttings may seem intimidating at first, but it can be a deeply satisfying endeavor that allows you to keep those stunning blooms in your life. Let’s explore how you can achieve this with ease.
Required Materials
Before diving into the propagation process, gather the essential materials you’ll need:
- Healthy hydrangea plant (make sure to choose a healthy, mature plant)
- Pots or containers (preferably small)
- Potting mix or well-draining soil
- Sharp scissors or pruning shears
- Water
- Plastic bags or clear plastic covers (for humidity)
Propagation Steps
Follow these simple steps to successfully root your hydrangea cuttings:
- Select the right time: Early summer is the best time for taking cuttings.
- Choose healthy stems: Look for new growth that’s firm but not too woody.
- Cut the stems: Use sharp scissors to make a cut about 4-6 inches long, ensuring you include several leaf nodes.
- Prepare the cuttings: Remove the lower leaves, leaving only a couple at the top to reduce moisture loss.
- Plant them: Fill your pot with the potting mix, make holes for the cuttings, and insert them carefully.
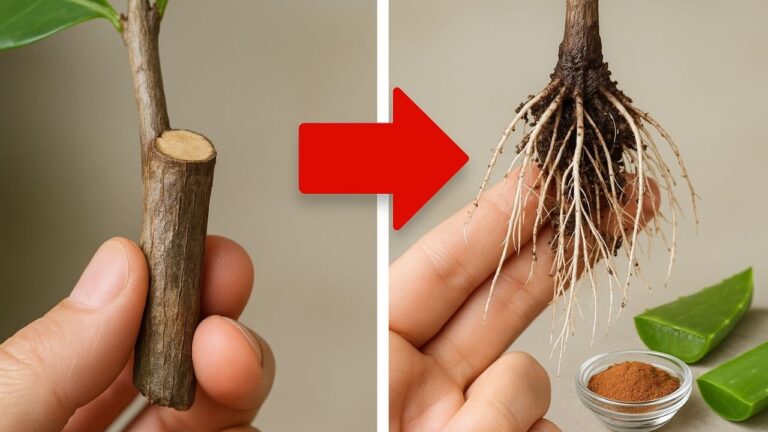
To promote root growth, you can also consider using a rooting hormone on the cut ends of the cuttings before planting them in the soil.
Creating the Right Environment
Once your cuttings are in the soil, it’s important to create a suitable environment:
- Water the cuttings well to settle the soil.
- Cover the pots with a plastic bag or clear plastic cover to maintain humidity.
- Place them in a location with indirect sunlight.
Monitoring and Care
Keep an eye on your cuttings:
- Check the soil moisture regularly and water as needed.
- Remove any yellowing leaves to encourage healthy growth.
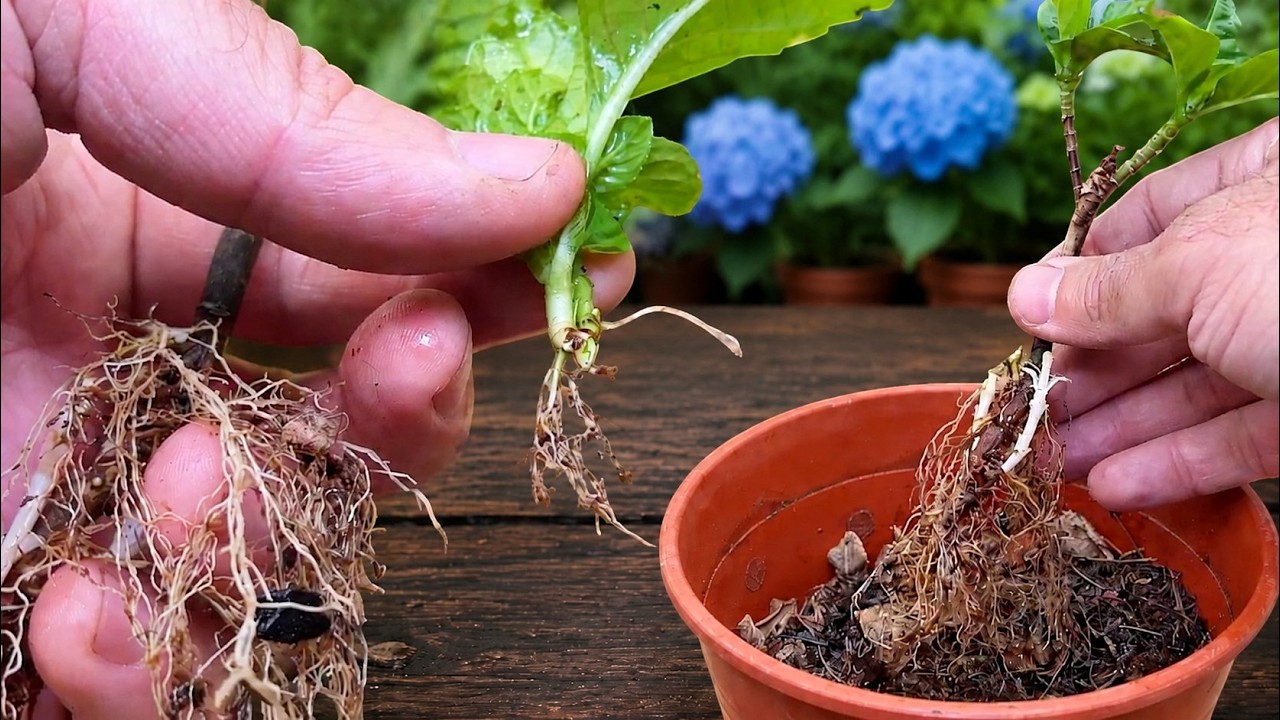
- After 4-6 weeks, you should see signs of new growth, indicating that roots have developed.
Common Mistakes
Avoid these pitfalls to enhance your chances of success when propagating hydrangea cuttings:
- Taking cuttings too late: Waiting too long can lead to reduced success rates. Early summer is key.
- Overwatering: Ensure the soil is moist but not soggy; too much moisture can cause rot.
- Insufficient humidity: Using a plastic cover helps maintain humidity, which is crucial for root development.
- Nutrient-rich soil: Avoid using overly enriched soil; a well-draining mix is best for cuttings.
- Ignoring light conditions: Keep cuttings out of direct sunlight to prevent leaf scorch and drying out.
FAQ
1. How long does it take for hydrangea cuttings to root? Hydrangea cuttings typically take about 4 to 6 weeks to develop roots, depending on the conditions.
2. Can I propagate hydrangeas from any variety? Most hydrangea varieties can be propagated from cuttings, but some may have better success rates than others.
3. What should I do if my cuttings don’t root? If your cuttings fail to root, assess the conditions such as moisture, light, and the timing of the cuttings.
Conclusion
Successfully rooting hydrangea cuttings is a rewarding gardening task that adds beauty to your space. By following the steps outlined, you can increase your chances of success. Have you tried propagating hydrangeas before? Share your experiences in the comments below!