7 Simple Wood Joints That Look Complicated but Anyone Can Master
7 Simple Wood Joints You Can Master with Ease
- Introduction
- Types of Wood Joints to Explore
- Step-by-Step Guide to Create Each Joint
- Common Mistakes to Avoid
- FAQ
Introduction
Have you ever admired beautifully crafted wooden furniture and wondered how those intricate joints came together? Achieving such craftsmanship might seem daunting, but with the right techniques, you can successfully create stunning wood joints in your DIY projects. Whether you’re building shelves, furniture, or decorative items, mastering these wood joints will enhance your woodworking skills. Explore this guide to discover how simple these joints can be.
Types of Wood Joints to Explore
Diving into woodworking means familiarizing yourself with various wood joints. Here are seven essential types that are simple yet effective:
- Butt Joint – The most basic joint, where two pieces of wood are simply held together at their ends.
- Lap Joint – One piece of wood overlaps another, allowing for a strong bond.
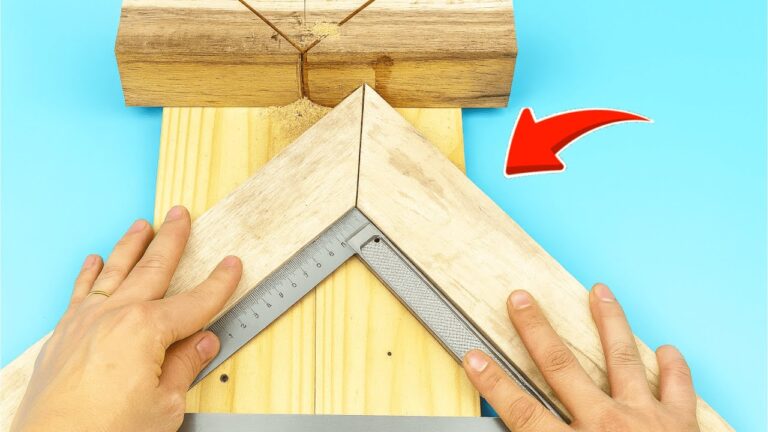
- Mitre Joint – Both pieces are cut at a 45-degree angle, creating a visually appealing corner.
- Dado Joint – A groove is cut into one piece, accommodating another piece of wood perfectly.
- Rabbet Joint – This joint involves cutting a recess along the edge of a board to fit another piece.
- Tongue and Groove Joint – Features a protruding tongue on one piece that fits into a groove on another, ideal for floorboards.
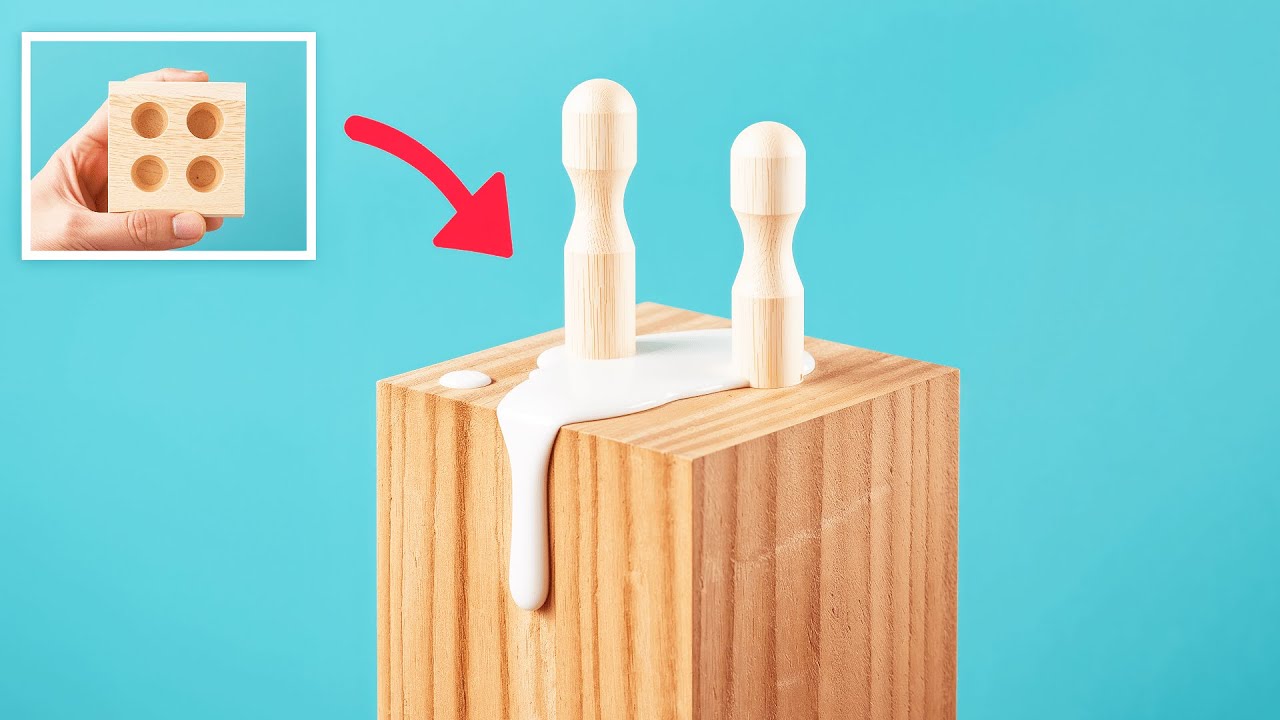
- Doweling Joint – Wooden dowels are inserted into aligned holes of two pieces, providing excellent stability.
Step-by-Step Guide to Create Each Joint
Here’s a detailed look at how to construct each of these simple joints. By following these steps, you’ll feel more confident in your woodworking skills.
1. Butt Joint
- Cut your wood pieces to the desired length.
- Align the ends of the two pieces together.
- Fasten them using wood glue or screws for added strength.
2. Lap Joint
- Cut one piece of wood to the desired length.
- Remove material from the bottom piece to create an overlapping section.
- Join them with glue or screws.
3. Mitre Joint
- Measure each piece of wood, marking a 45-degree angle at the ends.
- Cut along the marked angles using a miter saw.
- Glue the pieces together for a seamless finish.
4. Dado Joint
- Measure the width and depth of the groove needed.
- Use a dado blade to cut the groove into the main piece.
- Insert the second piece into the groove, applying glue for stability.
5. Rabbet Joint
- Cut a notch along the edge of one board.
- Measure the cut depth for the matching piece.
- Join both pieces by fitting them together and securing with glue.
6. Tongue and Groove Joint
- Cut a tongue on one edge of the first piece, and a matching groove on the second piece.
- Align the pieces together, ensuring a snug fit.
- Secure with adhesive or nails.
7. Doweling Joint
- Mark where to place the dowel holes on both pieces.
- Drill holes to match the dowel diameter.
- Insert dowels and glue to secure the joint.
Common Mistakes to Avoid
Even as you work with simple wood joints, it’s essential to steer clear of common errors that might affect the quality of your projects.
- Misalignment – Ensure your pieces are perfectly aligned before fastening them.
- Insufficient Adhesive – Using too little glue can weaken the joint.
- Inaccurate Cuts – Always double-check measurements to prevent mistakes in cuts.
- No Drying Time – Allow adequate time for glue to set before stressing the joint.
- Ignoring Wood Grain – Always respect the grain direction for best results in strength.
FAQ
What is the easiest wood joint for beginners? The butt joint is the simplest wood joint as it requires minimal tools and skills.
Can I use screws instead of dowels? Yes, screws can be used for added strength, but dowels provide a cleaner aesthetic.
What type of wood should I use for joints? Choose hardwoods for more durable joints, or softwoods for easier cuts.
Conclusion
Mastering these seven simple wood joints will elevate your woodworking projects, allowing you to create beautiful and functional pieces. With practice, you’ll grow more confident in your skills. Which wood joint are you excited to try first? Share your thoughts in the comments!