5 Essential Tips for Repotting Orchids and Preventing Root Rot Successfully
5 Essential Tips for Repotting Orchids and Preventing Root Rot Successfully
- Understanding Orchid Needs
- Choosing the Right Potting Material
- Step-by-Step Repotting Guide
- Common Mistakes to Avoid
- FAQ
Understanding Orchid Needs
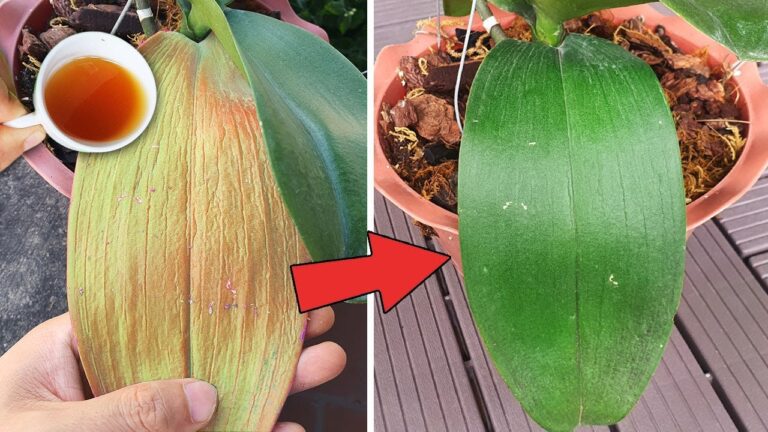
Orchids are delicate and beautiful plants that require specific care to thrive. You might find that your orchid isn’t blooming as vibrantly as it once did, or perhaps the leaves are showing signs of distress. These could be indicators that it’s time to repot your orchid. Repotting can ensure that your plant receives the nutrients it needs, but it also could lead to root rot if not done correctly. Discover how to care for your orchids by reading on.
Choosing the Right Potting Material
The potting medium is crucial when it comes to keeping your orchids healthy. Unlike typical houseplants, orchids thrive in a special medium that promotes drainage and airflow. Here are the key components you should consider:
- Bark Chips: These are an excellent choice for most orchids, allowing for proper drainage and airflow.
- Sphagnum Moss: Ideal for orchids that retain moisture, but be cautious of overwatering.
- Perlite or Coconut Coir: Both can be used to improve aeration in the potting mix.
Choose a combination that suits the specific type of orchid you have. For instance, Phalaenopsis orchids do well with a mixture of bark chips and perlite, while Cattleyas prefer a bark-based medium with some sphagnum.
Step-by-Step Repotting Guide
Repotting your orchid is a meticulous process. Follow these steps to ensure a successful transition:
- Gather Materials: You’ll need your new pot, potting medium, scissors, and optionally, a spray bottle with water.
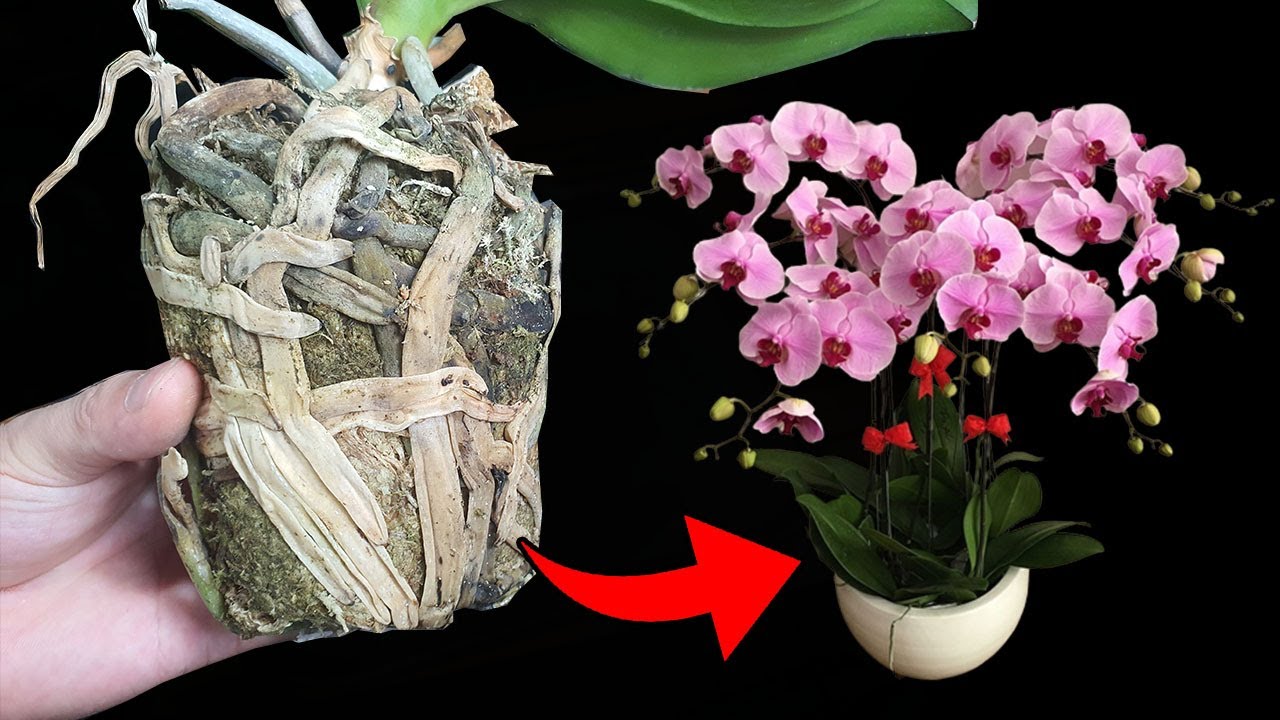
- Carefully Remove the Orchid: Gently slide the orchid out of its current pot. If it’s stuck, try using a small, clean knife to loosen the edges.
- Inspect the Roots: Trim any dead or mushy roots with clean scissors. Healthy roots should be green or white and firm.
- Add Potting Medium: Place a layer of your chosen potting material at the bottom of the new pot, then position the orchid and add more medium, ensuring it is well supported.
- Water Lightly: After repotting, water your orchid lightly to help settle the medium around the roots, but avoid soaking.
Additional Tips for Repotting
- Always choose a pot with drainage holes to prevent water buildup.
- Consider repotting every 1-2 years to refresh the potting medium.
Common Mistakes to Avoid
While repotting orchids can seem straightforward, it’s easy to make mistakes that could harm your plant. Here are some common pitfalls to be aware of:
- Overpotting: Choosing a pot that is too large can retain excess moisture, increasing the risk of root rot.
- Inappropriate medium mix: Using regular potting soil can suffocate the roots due to lack of airflow.
- Timing: Repotting during the wrong season, such as during blooming, can stress the plant and inhibit flowering.
FAQ
When should I repot my orchid? It’s best to repot your orchid every 1 to 2 years, or when the potting medium breaks down.
How do I know if my orchid has root rot? Signs include yellowing leaves, mushy roots, and a foul smell coming from the pot.
Can I use regular potting soil for orchids? No, regular potting soil retains too much moisture and does not provide the aeration orchids need.
Conclusion
Repotting your orchid with care can significantly enhance its health and beauty. By following the right steps and avoiding common mistakes, your orchid can thrive in its new environment. What has been your experience with repotting orchids? Share your thoughts in the comments!