Unlock a Door in 5 Easy Steps Using a Water Float Key Maker!
Unlock a Door with a Water Float Key Maker: A Practical Guide
- Overview of Water Float Key Makers
- Required Materials
- Step-by-Step Instructions
- Common Mistakes
- Frequently Asked Questions
Overview of Water Float Key Makers
Have you ever found yourself locked out of your home, staring at an unyielding door, and wishing for a simple solution? The frustration of being unable to enter your own space can be daunting. The water float key maker offers a practical and innovative way to create a replacement key without needing a locksmith. This guide will walk you through the ins and outs of using this handy tool to unlock your door efficiently.
Required Materials
Before diving into the process, it’s essential to gather everything you need for this project. Here’s a list of materials that will make your experience smoother:
- Water float key maker
- Locking mechanism (to match your door’s lock)
- Keys to replicate
- Some water
- A stable surface for the project
- Protective gloves and eyewear
Step-by-Step Instructions
Now that you have your materials ready, follow these detailed steps to successfully unlock your door with the water float key maker:
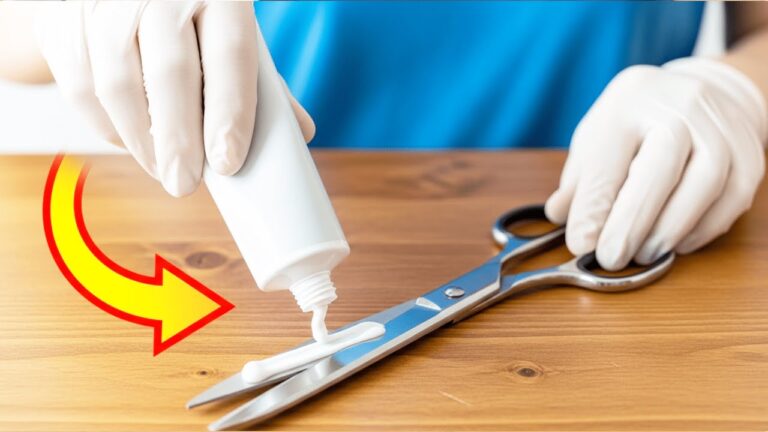
Step 1: Setup the Water Float Key Maker
Fill the base of the water float key maker with water. Ensure it sits on a level surface to create an accurate mold. This is crucial for replicating your key’s shape.
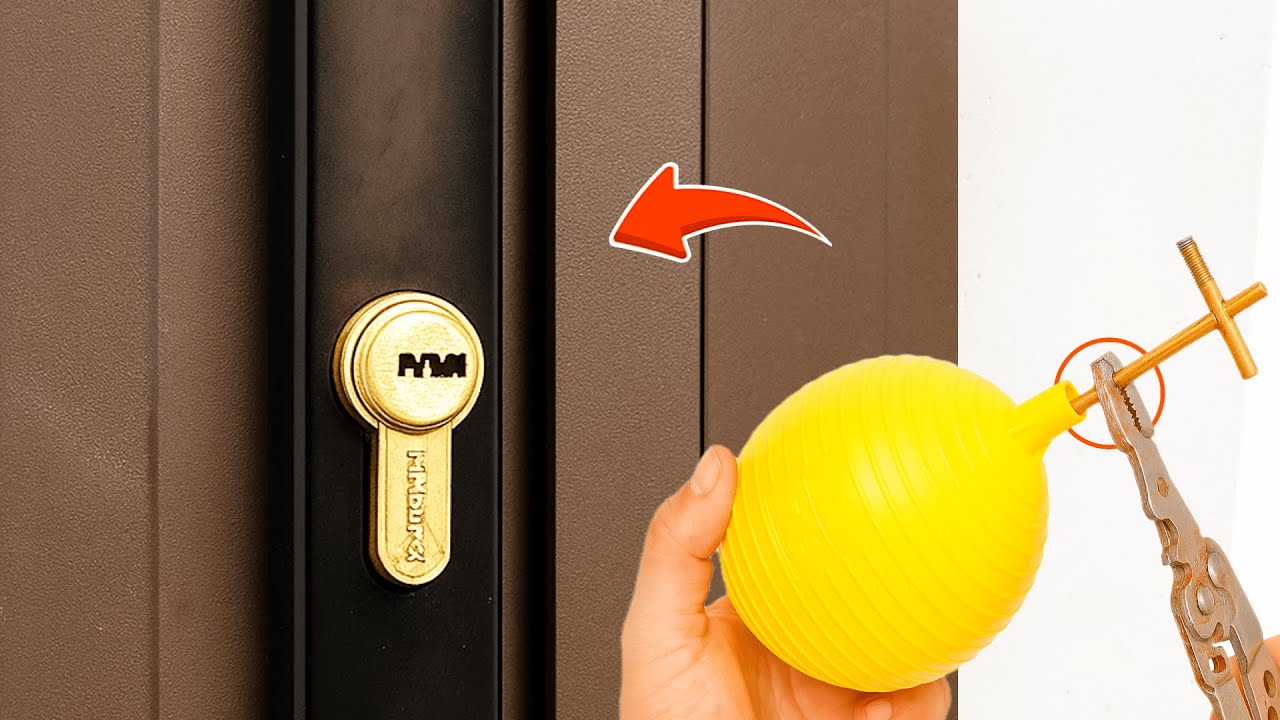
Step 2: Insert the Key
Carefully insert the key you wish to replicate into the designated space of the water float key maker. Ensure it fits snugly but doesn’t strain the mechanism.
Step 3: Create the Mold
Activate the water float mechanism according to the manufacturer’s instructions. This process will create a form that captures the key’s details accurately.
Step 4: Wait for the Mold to Cure
Allow the mold to set as directed in the product instructions. This typically takes a few minutes. Make sure it is undisturbed during this time for the best results.
Step 5: Extract and Test the Key
Once cured, carefully remove the mold from the key maker. Test the newly formed key in your lock to ensure a proper fit and functionality. If it works, you’ve successfully replicated your key!
Common Mistakes
While using the water float key maker can be straightforward, there are some common mistakes to avoid:
- Not ensuring the key is perfectly aligned in the maker.
- Failing to use enough water, which could affect the mold’s accuracy.
- Rushing the curing time, leading to a poorly formed key.
- Using a key that is too worn down, which may result in an inaccurate mold.
- Neglecting to wear protective gear during the process.
Frequently Asked Questions
Can you use any key with a water float key maker?
No, it’s best to use keys that are in good condition to ensure the mold captures all necessary details.
How long will the newly created key last?
The durability of the key depends on the material used for the mold. Typically, it should last for regular use unless subjected to extreme conditions.
Is it safe to use a water float key maker?
Yes, as long as you follow the manufacturer’s instructions and take necessary precautions, such as wearing gloves and eyewear.
Conclusion
Using a water float key maker can be an effective solution for creating a key replacement at home. By following the steps carefully and avoiding common mistakes, you can regain access to your space quickly. Have you ever faced a lockout situation? Share your experiences in the comments below!