Create 5 Super-Strong Wood Joints with Just One Small Drill Hole!
Create Strong Wood Joints with One Small Drill Hole
- Introduction
- Types of Wood Joints
- Materials and Tools
- Step-by-Step Guide to Creating Wood Joints
- Common Mistakes to Avoid
- FAQ
- Conclusion
Introduction
Finding the right way to connect your wooden pieces can sometimes feel daunting. Whether you are working on a simple DIY project or a more elaborate piece of furniture, the challenge of creating strong, lasting joints can often lead to frustration. You might wonder if there’s an easier technique to achieve the durability you desire without extensive tools or complex methods. This guide will provide you with practical strategies to make it easier.
Types of Wood Joints
Understanding the different types of wood joints will help you choose the right one for your project. Here are five popular types:
- Butt joints: The simplest type, where two pieces are joined at their ends.
- Lap joints: Overlapping pieces that provide a larger surface area for gluing.
- Dado joints: A groove cut into one piece allows another to fit snugly.
- Miter joints: Angled cuts that create a seamless corner.
- Dowels: Cylindrical pegs inserted into matching holes for extra strength.
Materials and Tools
Before you start creating wood joints, gather the necessary materials and tools:
- Wood pieces: Ensure the pieces are smooth and well-prepared.
- Drill and drill bits: Select a bit that matches the size of your dowels.
- Wood glue: High-quality glue will provide superior bonding strength.
- Dowels: Choose dowels that fit snugly when drilled into your wood.
- Clamps: Use these to hold pieces in place while the glue dries.
Step-by-Step Guide to Creating Wood Joints
Follow these steps to create strong wood joints that require only one small drill hole:
1. Mark Your Joint Locations
Begin by carefully measuring and marking where each joint will be placed. Precision is key for a successful bond.
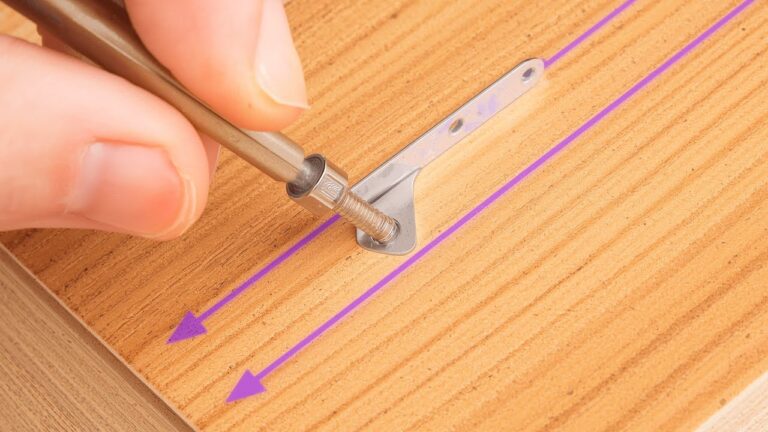
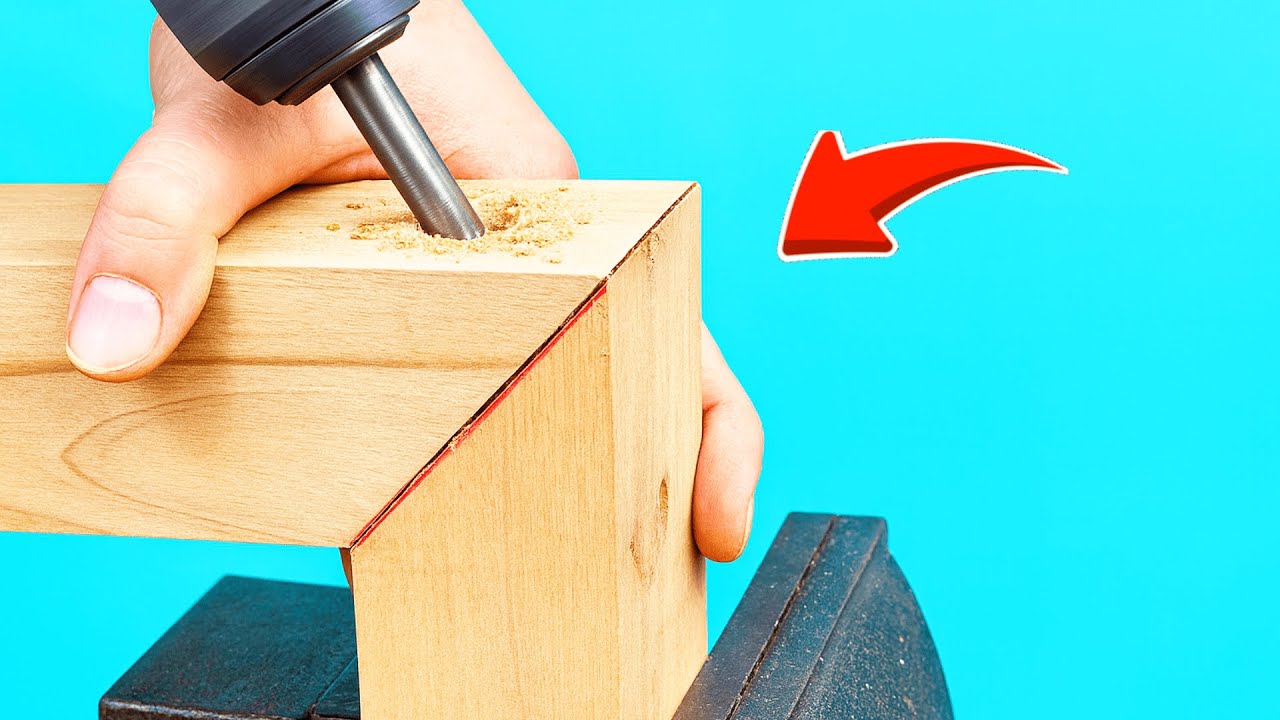
2. Drill the Holes
Using a drill, create holes at the marked locations. Ensure that the holes are the correct diameter to hold the dowels securely. It’s helpful to drill halfway through each wood piece to create a snug fit.
3. Insert the Dowels
Apply wood glue to both ends of the dowels. Insert them into the holes of one of the wood pieces, aligning them properly.
4. Join the Pieces
Align the second piece of wood with the dowels and press them together firmly. Use clamps to hold the pieces tightly for the best bond.
5. Allow to Dry
Leave the joints clamped for at least a few hours, or as recommended on your glue packaging, to ensure maximum strength.
Common Mistakes to Avoid
As you work on your wood joints, watch for these common pitfalls:
- Not measuring accurately: Inaccurate measurements can lead to misaligned joints.
- Using low-quality glue: Invest in a good quality wood glue for stronger bonds.
- Neglecting clamps: Always use clamps; they are crucial for proper alignment and bond strength.
- Forgetting to sand: Prepping your wood before drilling can make a significant difference.
- Drilling too deep: Avoid drilling all the way through, as it weakens the joint.
FAQ
What type of glue is best for wood joints? High-quality wood glue is recommended for optimal strength and durability.
Can I use screws instead of dowels? Yes, screws can be used, but they may not provide the same seamless appearance as dowels.
How long should I wait for wood glue to dry? It is best to follow the manufacturer’s guidelines, but generally, a few hours is sufficient.
Conclusion
Creating strong wood joints is a valuable skill that can enhance your DIY projects significantly. By following the steps outlined above and avoiding common mistakes, you can achieve durable and reliable joints. What types of projects are you most excited to apply these techniques to? Share your thoughts in the comments below!