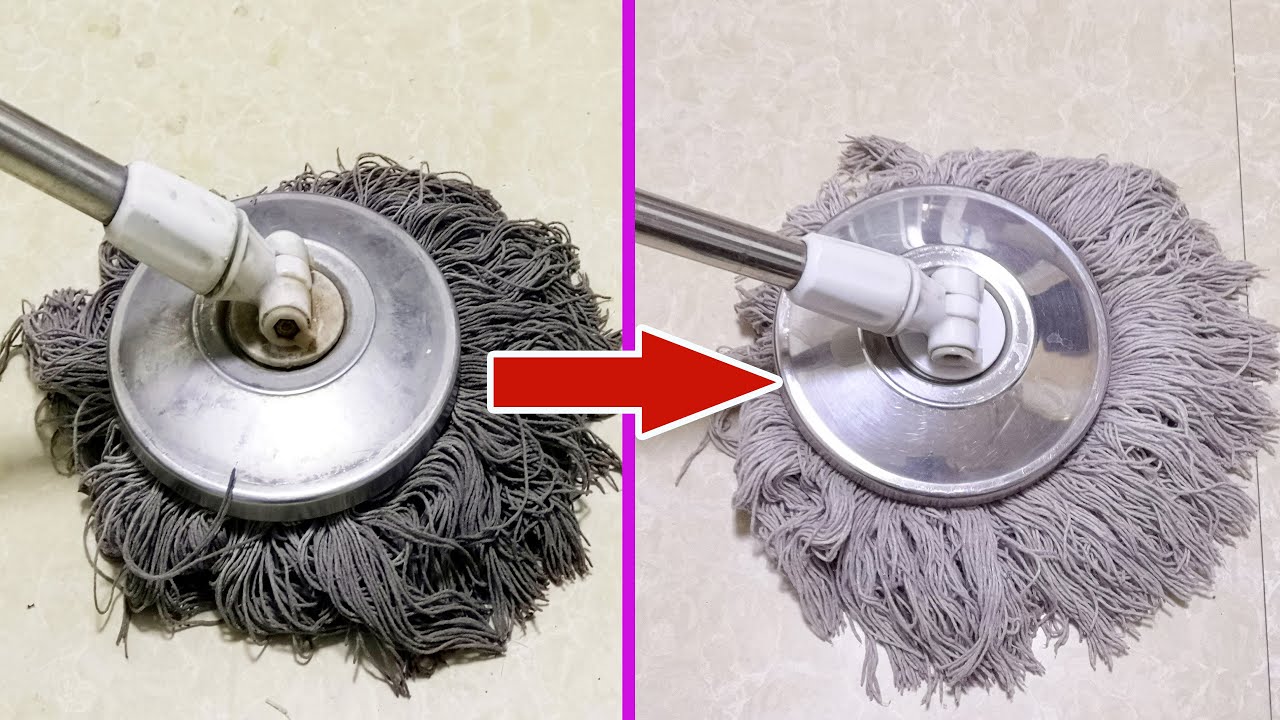
Revive Your Mop in 2 Days: Discover This Simple Trick for a Fresh Clean!
Revive Your Mop in Just Two Days: A Simple Trick for a Fresh Clean
- Introduction
- Why Revive Your Mop?
- Steps to Revive Your Mop
- Mistakes to Avoid When Reviving Your Mop
- FAQ
- Conclusion
Introduction
Have you ever picked up your mop after a long cleaning session only to find it still looking grimy? It can be frustrating to realize that even after all that hard work, your mop isn’t as clean as you hoped. It’s essential to maintain your cleaning tools, but often we overlook how to keep them fresh and effective. Fortunately, there’s an easy way to give your mop a much-needed revival. Let’s explore this straightforward process that can lead you to a cleaner home.
Why Revive Your Mop?
Reviving your mop is crucial for maintaining a hygienic home. A dirty mop can spread germs and dirt around your floors instead of cleaning them. Understanding the benefits can motivate you to give your mop a refresh.
1. Hygiene Benefits
A well-maintained mop significantly reduces the risk of spreading bacteria, keeping your living space healthier for your family.
2. Improved Cleaning Efficiency
When your mop is clean, it performs better and enhances the overall cleaning process. This means you’ll have a more effective tool at your disposal.
3. Longer Lifespan
Taking the time to care for your mop can extend its lifespan, saving you money in the long run. Regular maintenance allows for better performance during use.
Steps to Revive Your Mop
Reviving your mop doesn’t require much effort. Follow these steps to restore it to its original condition in just two days.
1. Gather Your Materials
- Hot water
- White vinegar
- Baking soda
- Essential oils (optional)
- A bucket
- A soft brush
2. Prepare the Cleaning Solution
Combine one cup of white vinegar with two cups of hot water in a bucket. You can also add a few drops of essential oils for a pleasant scent.
3. Soak the Mop
- Place the mop head in the cleaning solution.
- Allow it to soak for at least four hours for optimal cleaning.
4. Scrub the Mop Head
After soaking, take the soft brush and lightly scrub the mop head to remove any stubborn stains or residues. This gentle scrubbing will help lift dirt that may be trapped within the fibers.
5. Rinse and Dry
- Rinse the mop head thoroughly under warm water until no cleaning solution remains.
- Hang the mop to dry in a well-ventilated area, avoiding direct sunlight to prevent damage.
6. Maintain Regularly
Make it a habit to clean your mop after every few uses. This will not only keep it fresh but will also enhance your overall cleaning experience.
Mistakes to Avoid When Reviving Your Mop
While reviving your mop is a straightforward process, a few common mistakes can hinder your efforts. Here are some to watch out for:
1. Not Soaking Long Enough
Shortening the soak time can lead to inadequate cleaning. Make sure to allow enough time for the solution to work on stubborn grime.
2. Using Harsh Chemicals
Some commercial cleaners may damage your mop head. Stick to natural solutions like vinegar and baking soda to avoid causing further issues.
3. Forgetting to Rinse
Leaving cleaning products in the mop can lead to buildup over time, making cleaning less effective. Always rinse thoroughly after soaking.
FAQ
How often should I clean my mop? It’s best to clean your mop after every three to five uses to keep it effective and hygienic.
Can I use bleach on my mop? It’s not recommended, as bleach can damage the fibers and affect the mop’s lifespan. Opt for natural solutions instead.
Is it necessary to dry my mop after cleaning? Yes, drying your mop is crucial to prevent mold and bacteria development. Hang it in a well-ventilated area to dry properly.
Conclusion
Reviving your mop can transform it from a dirty cleaning tool into an effective one, improving both hygiene and cleaning efficiency. Have you ever faced challenges in keeping your mop fresh? Share your thoughts in the comments below!