Revive Your Old Hammer: 5 Simple Steps to Make a New Handle Like a Pro
Revive Your Old Hammer: Create a New Handle Like a Pro
- Introduction
- Required Materials
- Detailed Steps to Make a New Hammer Handle
- Practical Tips for a Successful Project
- Common Mistakes to Avoid
- FAQ
- Conclusion
Introduction
You’ve just reached for your trusty hammer, only to find that its handle is cracked and uncomfortable to grip. This old tool, once a reliable companion, now feels like a burden. Replacing the entire hammer seems excessive, yet letting it go feels wrong. Instead of tossing it aside, you can breathe new life into your favorite hammer. In this guide, we’ll show you how to create a new handle from scratch, allowing you to cherish your tool once again.
Required Materials
Before you dive into this DIY project, gather the following materials to ensure a smooth crafting experience:
- Hardwood (like hickory or oak) for durability
- Wooden dowel for a comfortable grip
- Wood glue to secure joints
- Sandpaper in varying grits for smoothing
- Wood saw for cutting the handle to size
- Safety goggles to protect your eyes
Detailed Steps to Make a New Hammer Handle
Creating a new handle for your hammer is a straightforward process. Follow these steps.
- Measure the old handle’s dimensions to ensure a proper fit.
- Cut the hardwood dowel to the desired length, ideally matching the original handle.
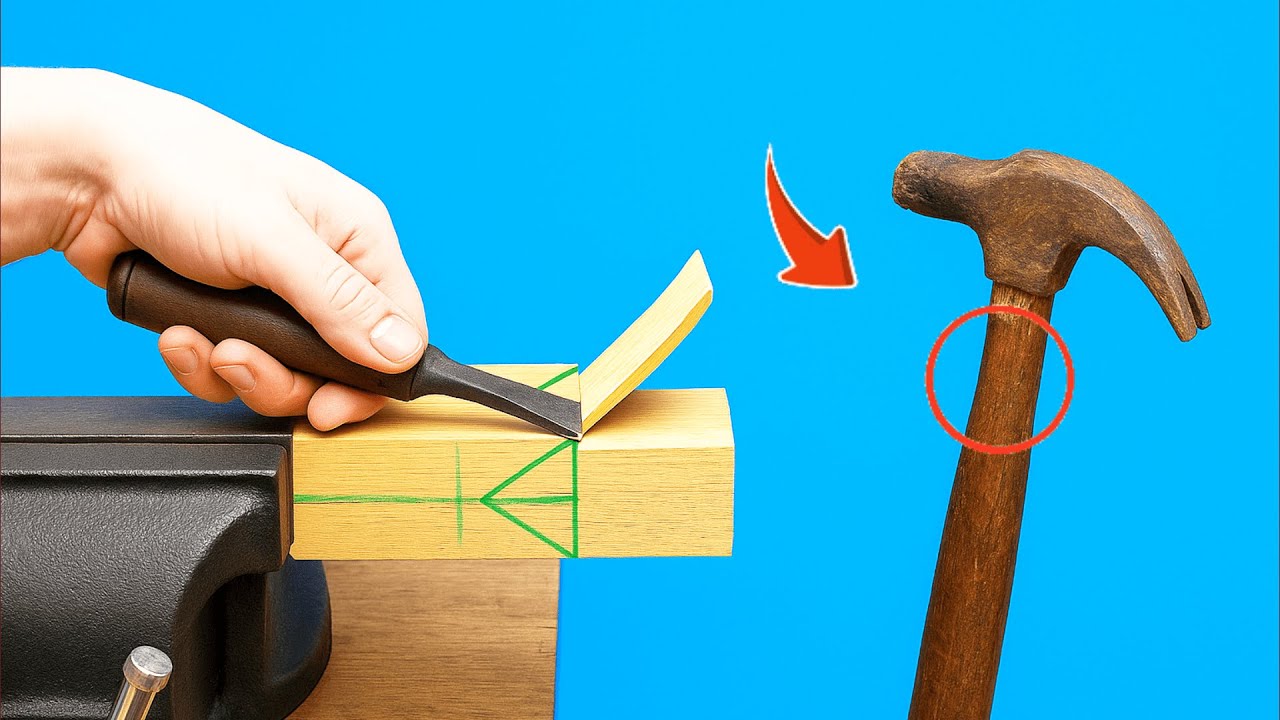
- Shape the handle by tapering one end to fit into the hammerhead using sandpaper.
- Drill a hole in the hammerhead if needed for the new handle.
- Apply wood glue to the end of the handle and insert it into the hammerhead, securing it firmly.
Additional Considerations
Choosing the right type of wood is crucial. Hardwoods like hickory provide strength and absorb shock well, making them ideal for tools. Additionally, ensure that your handle tapers correctly to fit snugly without being overly tight.
Visual Inspiration
To enhance your crafting, consider looking at different styles of hammer handles online. Observing variations can inspire unique designs or modifications to fit your grip preferences.
Practical Tips for a Successful Project
Here are some tips to help you throughout the process:
- Test the handle fit before securing it, ensuring it feels comfortable.
- Sand the handle until it is smooth to the touch to prevent splinters.
- Allow the glue to cure fully before using the hammer for maximum durability.
- Maintain the hammer regularly to prolong the life of your new handle.
Crafting Tools
Aside from the materials, using the right tools is crucial. A quality saw and various grit sandpapers can largely influence the outcome of your new handle, ensuring a professional result.
Common Mistakes to Avoid
When creating a new hammer handle, it’s easy to make some common errors. Here are a few to watch out for:
- Using softwood, which can damage easily and won’t provide longevity.
- Poor measurements, leading to a handle that doesn’t fit properly.
- Neglecting to sand the handle, resulting in a rough grip.
- Rushing the drying time of the glue, affecting the handle’s strength.
- Not testing the handle’s fit before applying glue, which can cause alignment issues.
FAQ
How do I know what size to cut the new hammer handle?
Measure the length and diameter of the old handle for the best fit, ensuring that the new piece aligns well with the hammerhead.
What type of wood is best for a hammer handle?
Hardwoods like hickory or oak are highly recommended due to their strength and shock absorption properties.
Can I use any type of glue for the hammer handle?
Using wood glue is advisable as it provides a strong bond necessary for tool handles.
Conclusion
Reviving your old hammer with a new handle is not only practical but also a rewarding DIY project. By following these steps, you can ensure your tool feels just as good as new. Have you attempted to replace a hammer handle before? Share your experiences in the comments!