This simple technique transforms your plumbing skills with a stunning metal water lock…
This Simple Technique Transforms Your Plumbing Skills with a Stunning Metal Water Lock
Unlocking the Secrets of Metal Water Locks
Are you ready to revolutionize your plumbing skills? This hands-on journey delves into the world of **metal water locks** crafted through **innovative riveting** techniques. You will discover how to create a visually impressive and efficient **rivet-based water lock** that can enhance your plumbing craftsmanship.
The Significance of Metal Water Locks
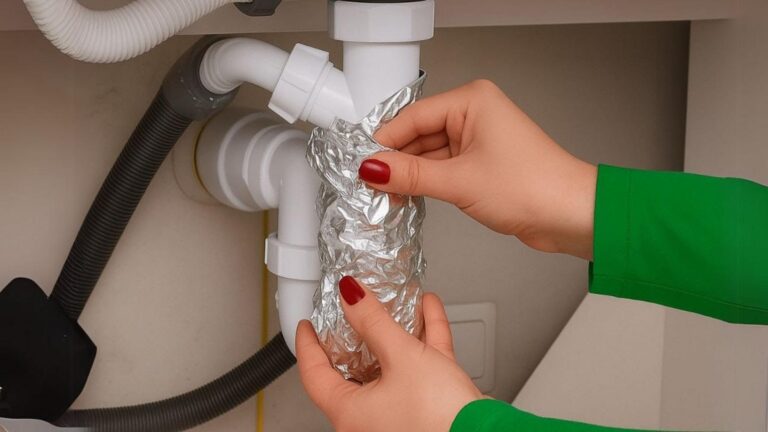
**Water locks** play a crucial role in plumbing systems, acting as essential mechanisms to prevent unwanted water flow. By understanding their importance, you can appreciate the necessity for reliable and aesthetically pleasing fixtures in your projects.
The Power of Rivets
Rivets offer incredible strength and versatility, making them ideal for fastening and sealing metal components. They provide a durable connection that stands the test of time, ensuring that your **DIY water lock** remains functional under pressure.
Materials and Tools
Before diving into the construction, gather the following materials and tools:
- Metal sheets (preferably aluminum or stainless steel)
- Rivets (suitable for your sheet thickness)
- Rivet gun (manual or pneumatic)
- Measuring tape
- Marker for layout
- Drill and appropriate bits
- Protective gear (gloves and safety goggles)
Step-by-Step Construction
1. Designing and Measuring
Begin by determining the dimensions for your **water lock**. Use a measuring tape to ensure accuracy, marking points for drilling that will allow for effective sealing.
2. Drilling Holes
Using a drill, create holes according to your measurements. Ensure that the spacing is consistent for reliable riveting.
3. Joining the Pieces
Align the metal sheets correctly, then insert the rivets into the pre-drilled holes. This step is vital for achieving a solid connection.
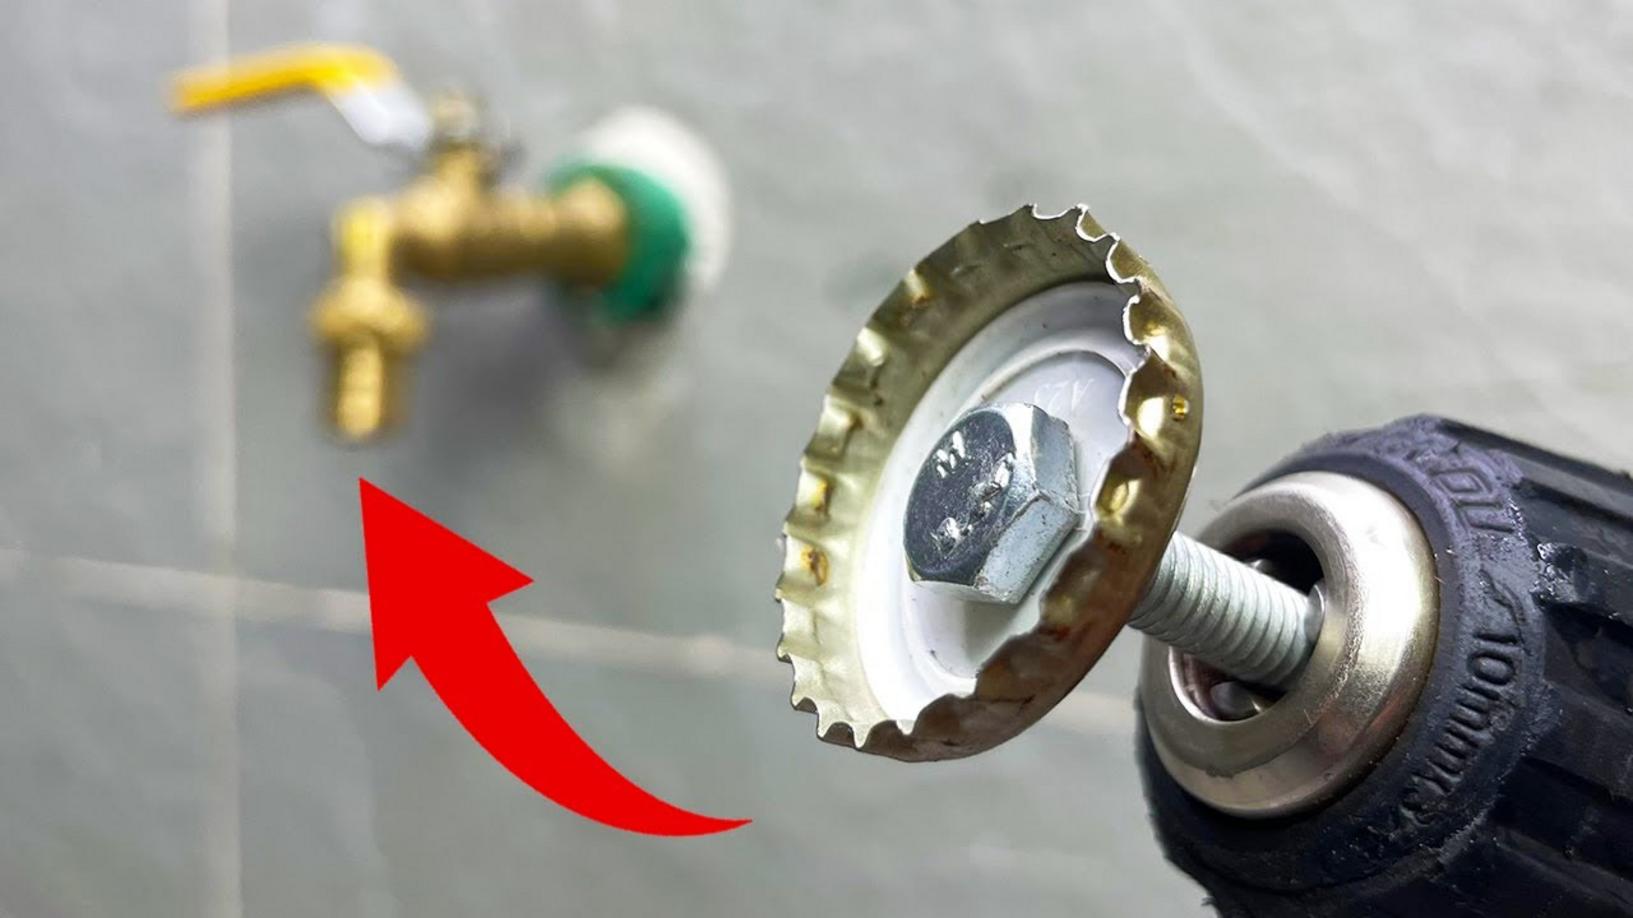
4. Riveting
Utilize your rivet gun to secure the rivets. Apply consistent pressure to ensure each rivet is fastened tightly, preventing leaks.
5. Final Assembly and Checks
Once all rivets are in place, inspect your **water lock** thoroughly. Check for any gaps or misalignments. Address these issues promptly to maintain a strong seal.
Pro Tips and Techniques
- Practice riveting on scrap metal to perfect your technique before working on your actual project.
- Always wear protective gear to avoid injuries during drilling and riveting.
- Consider using a **sealant** to enhance the waterproofing of your assembly.
Efficiency and Speed
To construct your **metal water lock** efficiently, plan your steps thoroughly. This strategy not only saves time but also ensures high-quality results. With the right approach, you can create a **quick water lock** that stands out in both functionality and design.
Visual Appeal and Functionality
Your completed water lock will serve as a functional piece while adding an elegant touch to any plumbing system. With a bit of creativity, these locks can truly be works of art.
Key Takeaways
By mastering the art of crafting a **metal water lock**, you’ll enhance your plumbing skills significantly. Whether you are a **DIY enthusiast** or a professional plumber, the techniques learned here will elevate your expertise in plumbing craftsmanship.
Join Our Adventure!
Don’t miss the chance to improve your knowledge and skills. Hit the like button, subscribe, and ring the notification bell to stay updated on our latest tutorials! Your journey to becoming a plumbing maestro starts now!
Thank you for joining us on this enlightening adventure into the world of plumbing craftsmanship. Let’s unlock new possibilities together!