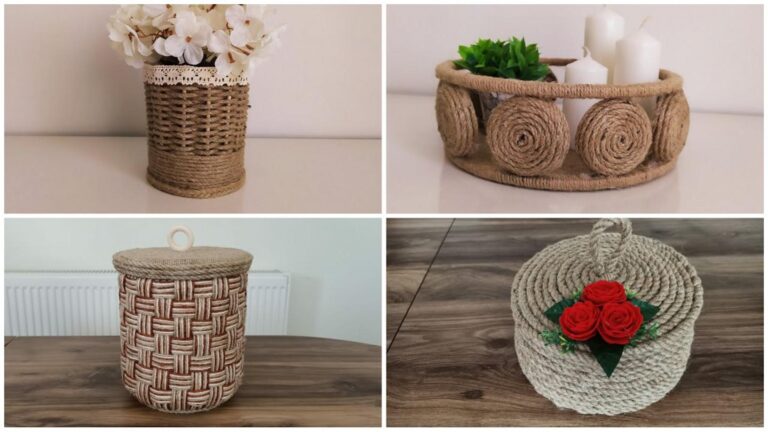
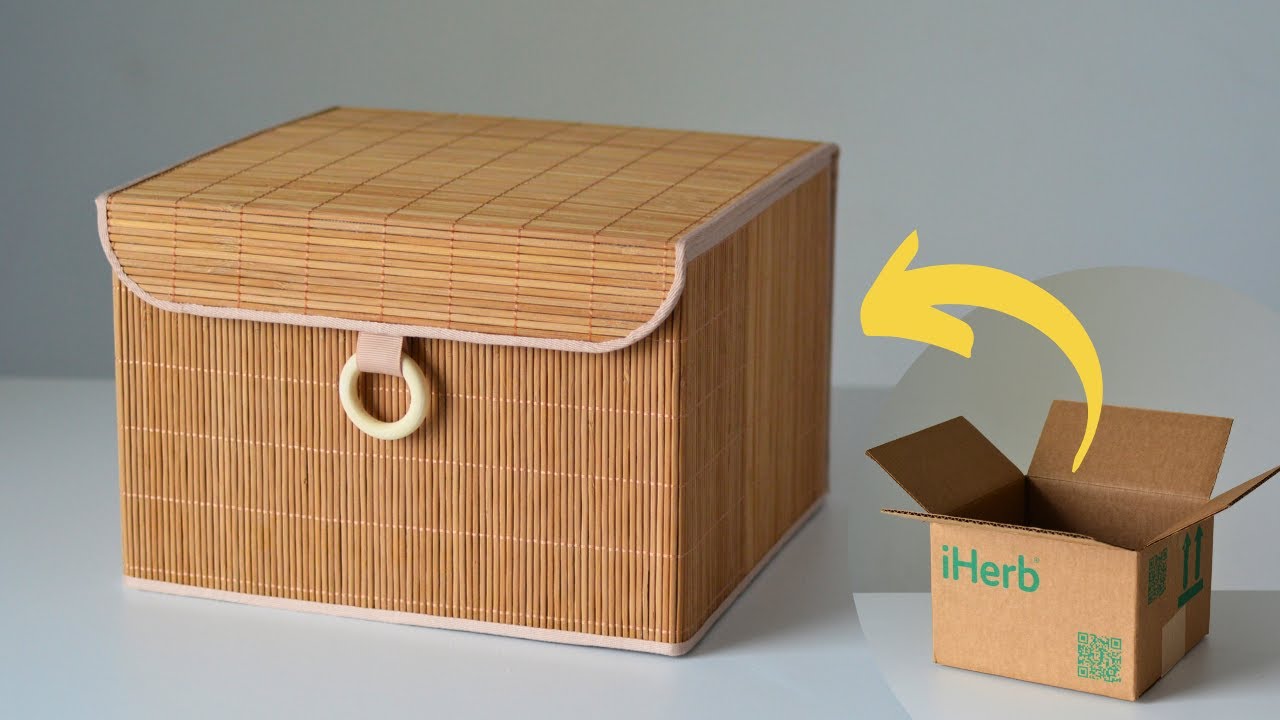
Transform 1 Cardboard Box into 5 Stunning Storage Baskets with Lids!
Transform One Cardboard Box into Five Stunning Storage Baskets
- Introduction
- Required Materials
- Crafting Your Storage Baskets
- Personalization Ideas
- Mistakes to Avoid
- FAQ
- Conclusion
Introduction
Have you ever faced the challenge of organizing scattered items around your home? Clutter can quickly build up, leaving you feeling overwhelmed and searching for practical solutions. Using what you already have can be a game changer, especially when it comes to repurposing materials like cardboard. Instead of tossing that old box, consider transforming it into beautiful and functional storage baskets. This guide will walk you through the steps to create five stunning baskets, each with a lid, to help you reclaim your space.
Required Materials
Before you dive into this craft project, gather all the necessary materials. Here’s what you’ll need:
- 1 large cardboard box
- Scissors or a craft knife
- Glue or a hot glue gun
- Fabric or decorative paper
- Ruler or measuring tape
- Paint or spray paint (optional)
Once you have everything ready, you can start crafting your gorgeous storage baskets.
Crafting Your Storage Baskets
Creating your storage baskets from the cardboard box involves a few simple steps. You can craft five unique baskets with lids by following these guidelines:
1. Measure and Cut
- Measure the dimensions of your cardboard box. Decide how tall and wide you want each basket to be.
- Cut the cardboard into rectangular pieces that will serve as the walls and base of your baskets.
2. Assemble the Baskets
- Fold the cut pieces to form a rectangular shape. Make sure the base is sturdy.
- Glue the edges together to secure the structure. Use clothespins to hold them in place until the glue sets.
3. Create the Lids
- Cut additional pieces of cardboard to serve as the lids for your baskets. Ensure they fit snugly on top.
- Glue the smaller rectangles onto the larger lid piece for sturdiness.
Personalization Ideas
Your storage baskets can be as unique as you are! Here are some ideas to customize and enhance your creations:
1. Fabric or Decorative Paper
- Cover the baskets and lids with colorful fabric or patterned paper for a more visually appealing look.
- Add a layer of Mod Podge to seal the paper and create a smooth surface.
2. Paint Effects
- Spray paint the outside of the baskets in your favorite colors for a cohesive design.
- Create patterns using tape or stencils to add flair to your baskets.
3. Labels
- Label each basket using tags or handwritten notes. Use twine for a rustic touch.
- Consider adding a chalkboard section on the front for easy re-labeling.
Mistakes to Avoid
While crafting your storage baskets, consider these common pitfalls to ensure a successful project:
- Using flimsy cardboard may lead to weak structures. Choose strong, sturdy boxes.
- Skipping the drying time can result in unstable baskets. Allow glue to set completely.
- Overfilling baskets can cause them to lose shape. Be mindful of what you store.
FAQ
Can I use any type of cardboard box for this project?
Yes, any sturdy cardboard box will work. Just ensure it’s not too flimsy.
How can I ensure my baskets hold their shape?
Using a strong adhesive and allowing sufficient drying time will help maintain the structure of your baskets.
What are some other ways to personalize my cardboard baskets?
Consider adding decorations like embellishments, handles, or even fabric liners for added beauty and functionality.
Conclusion
Transforming a simple cardboard box into five beautiful storage baskets is a fulfilling project that not only helps organize your home but also allows you to express your creativity. By following these steps and personalizing your baskets, you’ll have functional art pieces that brighten any room. What unique designs do you envision for your own baskets? Share your thoughts in the comments!