10 Easy Steps to Create Stunning Cement Sugar and Coffee Pots at Home
10 Easy Steps to Create Stunning Cement Sugar and Coffee Pots at Home
Required Materials
Before you dive into your charming cement pots project, it’s important to gather the right supplies. You’ll want to ensure you have everything ready for a smooth crafting experience.
- Cement mix
- Water
- Mixing container
- Stirring stick or trowel
- Plastic pots (for molds)
- Cooking spray or oil (for mold release)
- Sandpaper (for finishing touches)
Step-by-Step Guide
Creating stylish cement pots for your sugar and coffee is easier than you might think. Follow these simple steps to achieve stunning results.
1. Prepare Your Workspace
Start by laying down newspaper or a drop cloth to protect your surfaces. Ensure you have adequate ventilation for mixing.
2. Mix the Cement
- Measure the cement mix according to the package instructions.
- Add the appropriate amount of water and stir until smooth.
- Let the mixture sit for a few minutes, allowing any air bubbles to escape.
3. Coat the Molds
To ensure easy removal, spray the inside of your plastic pots with cooking spray or oil. This step makes the demolding process hassle-free.
4. Pour the Mixture
Carefully pour the cement mixture into your molds, filling them to about three-quarters full to allow for expansion.
5. Create Drainage Holes
If you’re planning to use the pots for plants, insert a small straw or stick into the wet cement to form drainage holes. Remove it later once the cement is set.
6. Let It Cure
Leave the molds untouched in a cool area for at least 24 to 48 hours. The longer you let them cure, the stronger they will become.
7. Demold Your Pots
Gently pull away the plastic from the cement once it has cured. If you encounter resistance, tap the mold lightly to ease it off.
8. Smooth the Edges
Use sandpaper to sanding down any rough edges for a polished finish.
9. Decorate Your Pots
Personalize your pots with paint or natural twine for an appealing touch. A coat of sealant can also protect your design against wear.
10. Fill Them Up
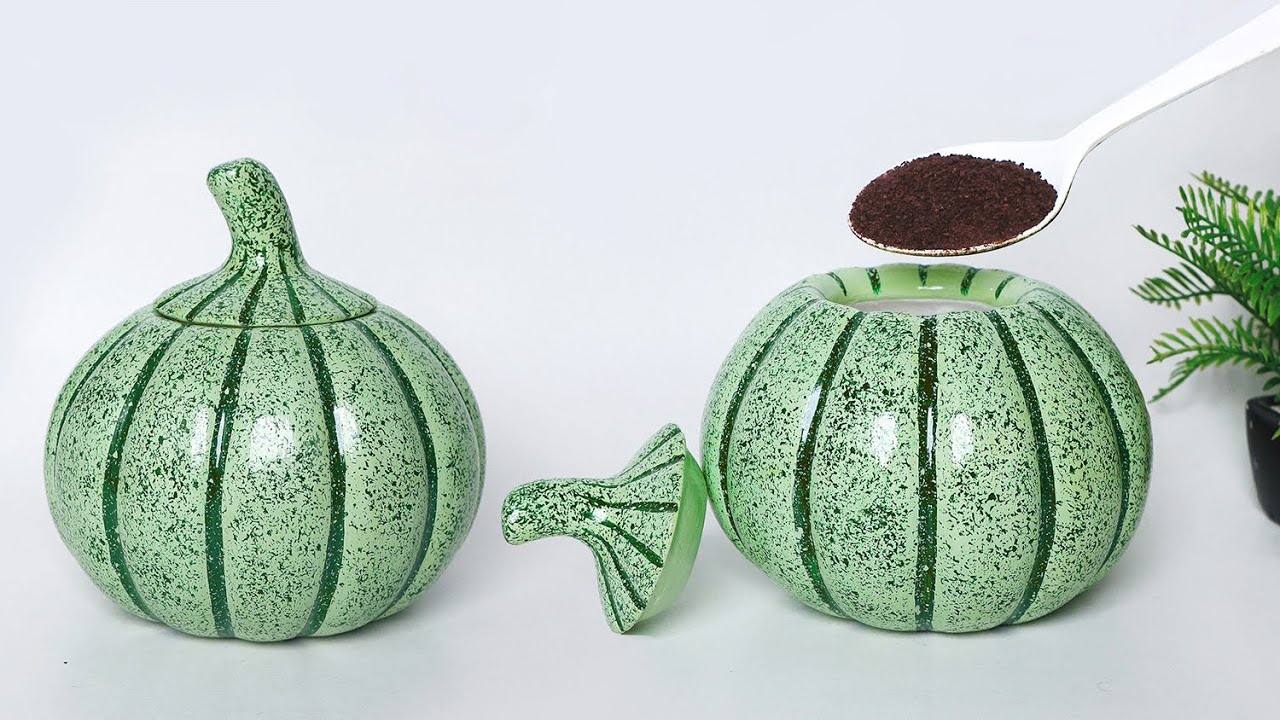
Once your pots are decorated, fill them with sugar, coffee, or even small plants for a rustic charm in your kitchen or living room.
Creative Variations
Your cement pots can easily be customized to fit your style. Here are a few ideas to inspire your creativity.
- Try using different shaped molds, like heart or geometric forms.
- Add color by mixing in powdered pigments with your cement for a fun twist.
- Incorporate natural elements, such as pebbles or leaves, during the pouring process for texture.
Common Mistakes to Avoid
Even the most experienced DIY enthusiasts can make mistakes. Avoid these common pitfalls to ensure your project goes smoothly.
- Using too much water in your cement mix can weaken the final product.
- Rushing the curing process may lead to cracking.
- Neglecting mold release can make demolding a frustrating task.
- Skipping the sanding step can result in sharp edges that may not be safe to handle.
- Overlooking the need for drainage can cause issues if used for planting.
FAQ
Can I use any type of cement for this project? It’s best to use a general-purpose cement mix, commonly available at hardware stores.
How can I ensure my pots are waterproof? Applying a waterproof sealant can help protect and preserve your pots.
Is this project suitable for beginners? Yes! This project is user-friendly and perfect for those new to DIY crafting.
Conclusion
Creating stunning cement pots for your sugar and coffee is a rewarding project that adds charm to your space. With a few simple materials and steps, you can personalize these pots to fit your style. What unique touches will you add to your pots? Feel free to share your ideas in the comments!