7 Wood Joining Tricks to Transform Your Home Projects Effortlessly!
7 Wood Joining Tricks to Transform Your Home Projects Effortlessly
- Introduction
- Essential Techniques for Wood Joining
- Common Joinery Methods Explained
- Mistakes to Avoid When Joining Wood
- FAQ
- Conclusion
Introduction
Have you ever found yourself frustrated while trying to create a beautiful home project, only to struggle with the wood joints? This common dilemma can make even the most straightforward DIY task seem daunting. Whether you’re assembling a simple bookshelf or crafting a unique piece of furniture, understanding the right wood joining techniques can save you time and effort. Let’s explore how you can elevate your crafting game by mastering these simple tricks.
Essential Techniques for Wood Joining
Each wood joining method can enhance your project in different ways. By incorporating these essential techniques, you can streamline your process and achieve a professional look.
1. **Butt Joint**
The butt joint is one of the simplest yet widely used techniques for joining two pieces of wood. To create a strong butt joint, follow these steps:
- Align the edges of the wood pieces you want to join.
- Apply wood glue generously along the edge.
- Clamp the pieces together until the glue dries for a secure bond.
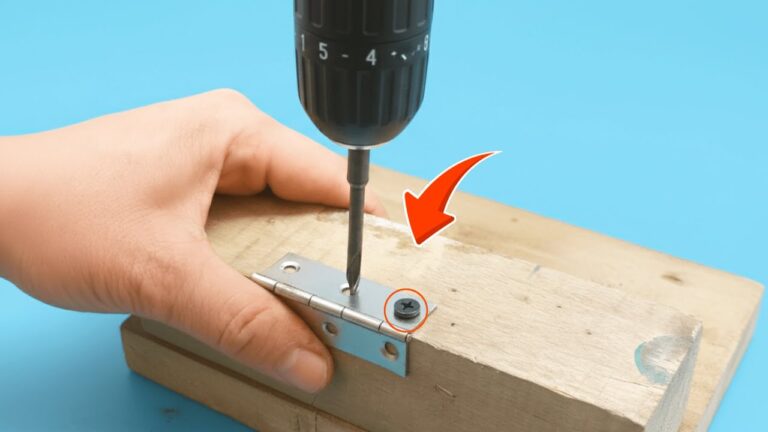
2. **Pocket Hole Joinery**
This method involves drilling angled holes into one of the materials, providing a hidden fastener for a cleaner finish. Here’s how to do it:
- Purchase a pocket hole jig for added precision.
- Set the jig according to the thickness of the wood.
- Drill pockets and fasten together using screws.
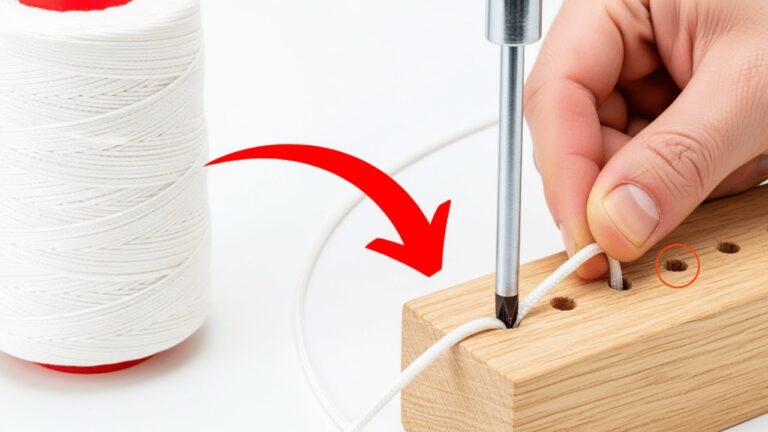
3. **Dowel Joint**
Dowel joints are perfect for aligning and anchoring two pieces firmly. For a strong dowel joint, you should:
- Mark the locations where the dowels will be placed on both pieces of wood.
- Drill holes at the marked locations, ensuring they are aligned.
- Insert the dowels with glue, and clamp the wood until the glue sets.
Common Joinery Methods Explained
Each wood joining method serves different purposes and aesthetics. Here are a few popular techniques that can elevate your project:
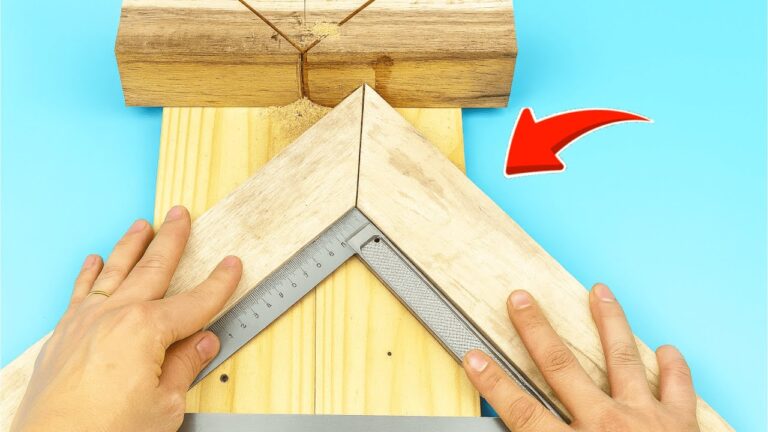
1. **Mortise and Tenon**
This traditional joinery technique is known for its strength and stability. To create a mortise and tenon joint:
- Cut a tenon on the end of one board.
- Drill a mortise hole in the other board to fit the tenon.
- Assemble them with glue for a robust connection.
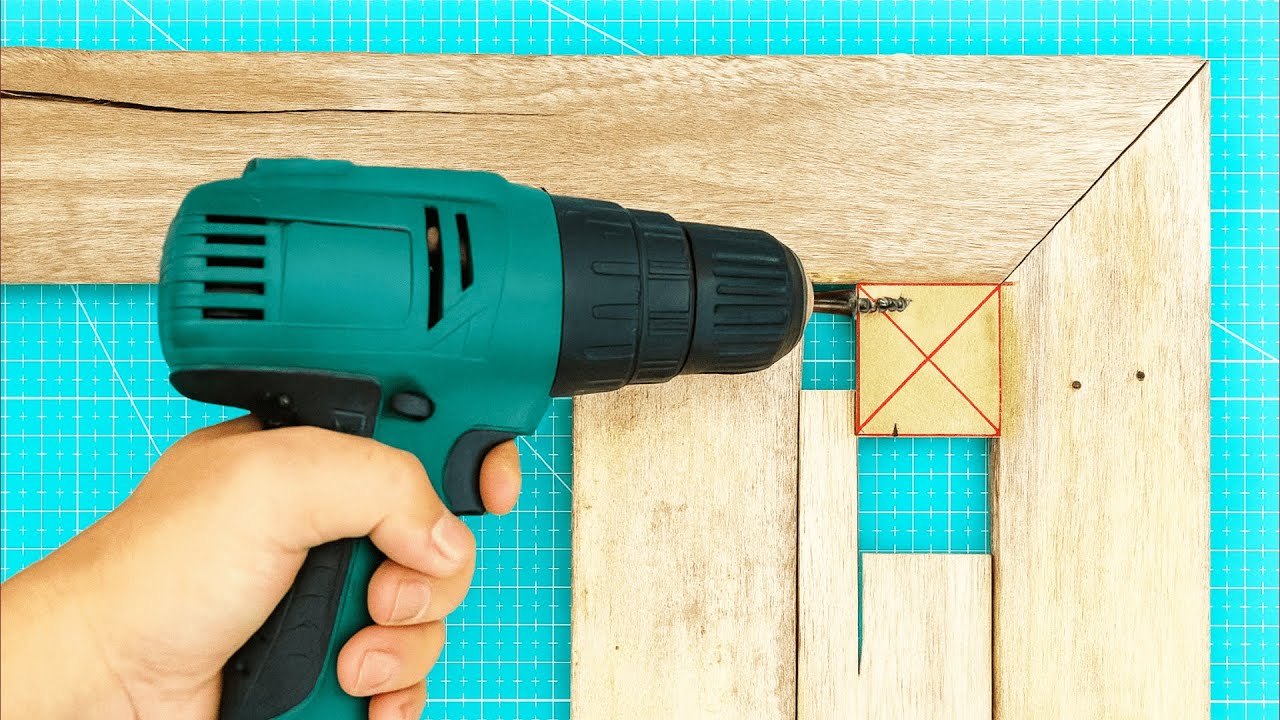
2. **Rabbet Joint**
Ideal for constructing boxes and frames, the rabbet joint involves cutting a notch along the edge of the wood. Here’s how:
- Use a table saw or router to create a notch along the edge.
- Fit the pieces together snugly.
- Secure with wood glue or screws for a strong hold.
3. **Lap Joint**
This joint involves overlapping two pieces of wood for added strength. Follow these steps:
- Cut a notch in each piece that overlaps.
- Align the pieces to ensure a flush fit.
- Glue and clamp until it dries.
Mistakes to Avoid When Joining Wood
Understanding common mistakes can enhance your woodworking experience. Here are a few pitfalls to avoid:
1. Inaccurate Measurements
Always measure twice before cutting to avoid misalignments and wasted materials.
2. Skimping on Glue
Using too little glue can lead to weak joints. Be generous for a long-lasting bond.
3. Ignoring Wood Grain
Always join wood with the grain to maintain strength and appearance. Joining against the grain can weaken the connection.
FAQ
What is the strongest wood joint? The mortise and tenon joint is considered one of the strongest because it provides a secure hold, especially for heavier pieces.
How do I choose the right fasteners? The choice of fasteners often depends on the thickness of the wood and the weight of the project. Use screws for stronger holds and nails for lighter assemblies.
Can I use wood glue alone? While wood glue can provide a strong hold, it is recommended to use it in conjunction with mechanical fasteners like screws or dowels for enhanced stability.
Conclusion
Mastering these wood joining tricks can significantly enhance your home projects, making them both sturdy and visually appealing. Have you tried any of these methods in your woodworking endeavors? Share your experiences in the comments below!