Revive 7 Dead Orchids Using These Simple Tips You’ll Wish You Knew Sooner!
Revive Your Dead Orchids with Simple Tips You Wish You Knew Sooner
- Understanding Orchid Health Issues
- Necessary Materials for Revival
- Step-by-Step Revival Process
- Common Mistakes to Avoid
- FAQ
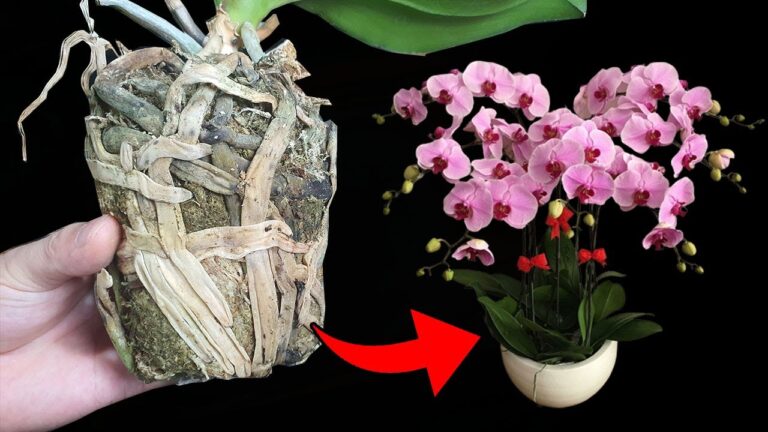
Seeing your beloved orchids struggle can be disheartening. Whether you’ve noticed wilted leaves, a lack of blooms, or root rot, it can feel like a lost cause. But before you give up hope, there are ways to bring your plants back to life. These simple tips will help you revive your orchids and restore their former beauty.
Understanding Orchid Health Issues
Before attempting to restore your orchids, it’s crucial to understand what might have gone wrong. Identifying the problem can set you on the right path to revival.
Common Orchid Problems
- Improper Watering: Overwatering or underwatering can lead to root rot or dehydration.
- Insufficient Light: Orchids thrive in bright, indirect light; too little or too much can hinder their growth.
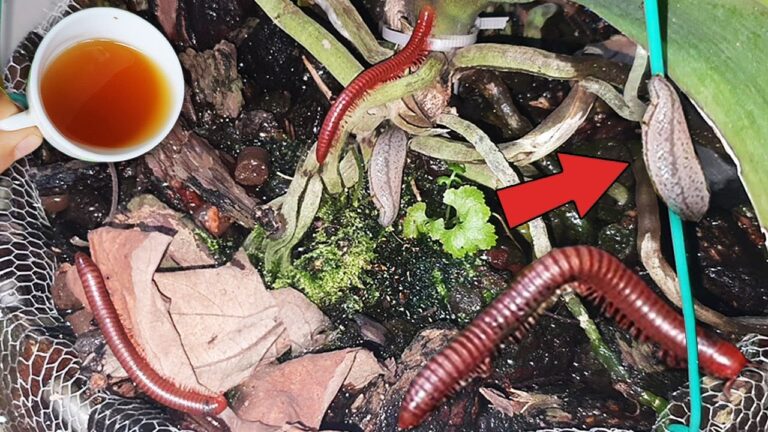
- Pest Infestation: Check for pests that may be damaging your plants.
Signs of Distress
Look for these visual cues to help identify issues:
- Yellowing leaves may indicate overwatering.
- Brown, crispy leaf edges suggest underwatering.
- Sticky residue could be a sign of pest activity.
Necessary Materials for Revival
Equipping yourself with the right materials will streamline the revival process. Here’s what you’ll need:
- Fresh Orchid Potting Mix: Provides essential nutrients for recovering orchids.
- Clean Containers: Helps prevent future rot; consider using pots with good drainage.
- Watering Can: Use one with a fine spout for precise watering.
- Scissors or Pruning Shears: For trimming dead or rotting roots.
Step-by-Step Revival Process
Now that you understand the problems and have gathered materials, it’s time to initiate the revival process. Follow these steps for effective restoration:
Step 1: Inspect Your Orchid
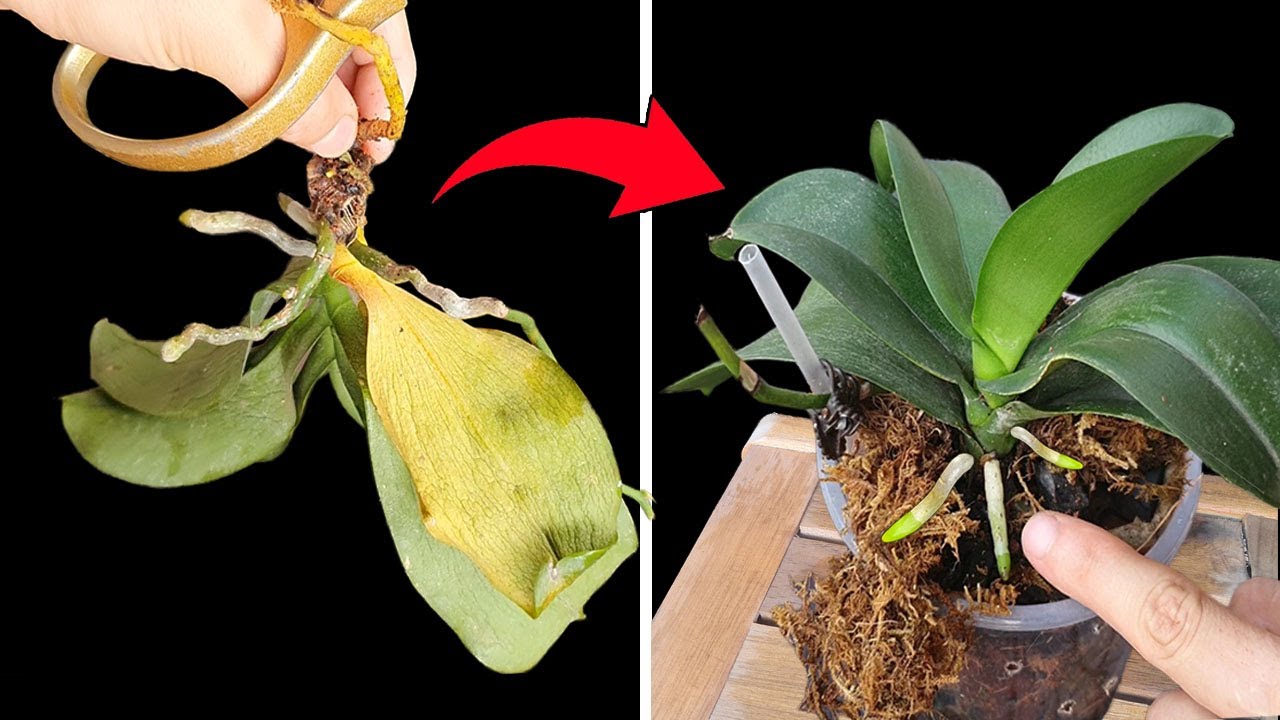
- Remove it from its pot to examine the roots.
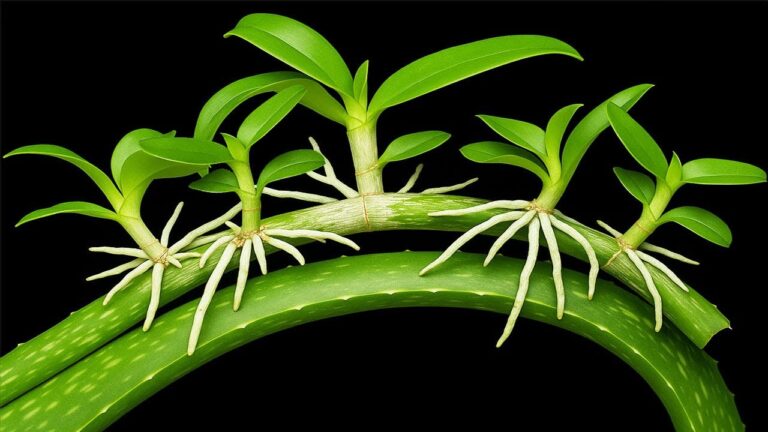
- Look for healthy green roots vs. brown, mushy ones that need to be cut away.
Step 2: Trim and Clean
- Use scissors to carefully trim away damaged roots and leaves.
- Wash the container to remove any bacteria.
Step 3: Re-potting
- Add fresh potting mix to the new container.
- Reposition your orchid and fill in the gaps gently, ensuring roots are well-distributed.
Step 4: Optimal Conditions
Ensure your orchid is placed in an area with indirect sunlight and within a stable temperature range. Avoid direct drafts from doors or windows.
Common Mistakes to Avoid
While reviving your orchids, be mindful of these common pitfalls:
- Ignoring Signs: Failing to recognize early signs of distress can lead to irreversible damage.
- Overwatering: This can cause root rot, so allow sufficient drying time between watering.
- Not Providing Enough Light: Orchids need adequate light; placing them in too dark an area can stunt growth.
FAQ
How do I know if my orchid is dead? Look for signs like completely brown or mushy roots and leaves that are limp or lifeless. If the root structure is entirely gone, it may be beyond revival.
How frequently should I water my orchids? Watering frequency depends on your environment; generally, wait until the top inch of the potting mix feels dry, which can be every 1-2 weeks.
Can I use regular potting soil for orchids? No, standard potting soil retains too much moisture. Use a specially formulated orchid mix for proper drainage and aeration.
Conclusion
With a focus on understanding your orchids and using proper techniques, you can successfully revive your beloved plants. What challenges have you faced in caring for your orchids? Share your experiences in the comments!